Using Filters in Apple Photos
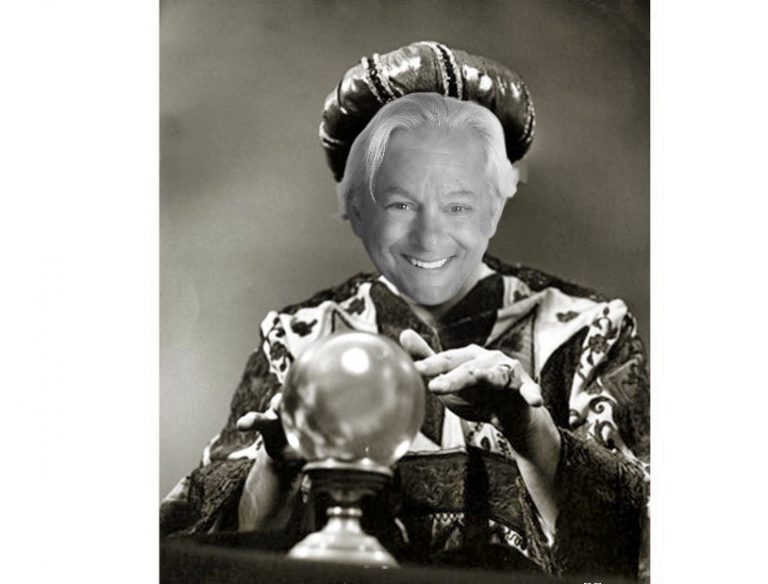
I used the “hippie” filter for my hippy wife in this photo. That filter is part of one of the third party filter packs that you can add to Apple Photos. But before we get there let’s talk about filters as part of the editing suite built into Apple Photos.
Last week we talked about cropping, straightening, flipping and changing the aspect ratio of a photo. This week we will talk about filters. Filters are really just preset adjustments that you could do manually but are designed to give your photo a special effect.
- In the Photos app
 on your Mac, double-click a photo, then click Edit in the toolbar.
 - Click Filters in the toolbar.
Tip: To quickly see filters while editing, press F.
- Click the filter you want.Your changes are saved automatically, unless you choose Edit > Undo or click the Revert to Original button.
Here are the built-in filters in Photos as they are applied to the same photo:

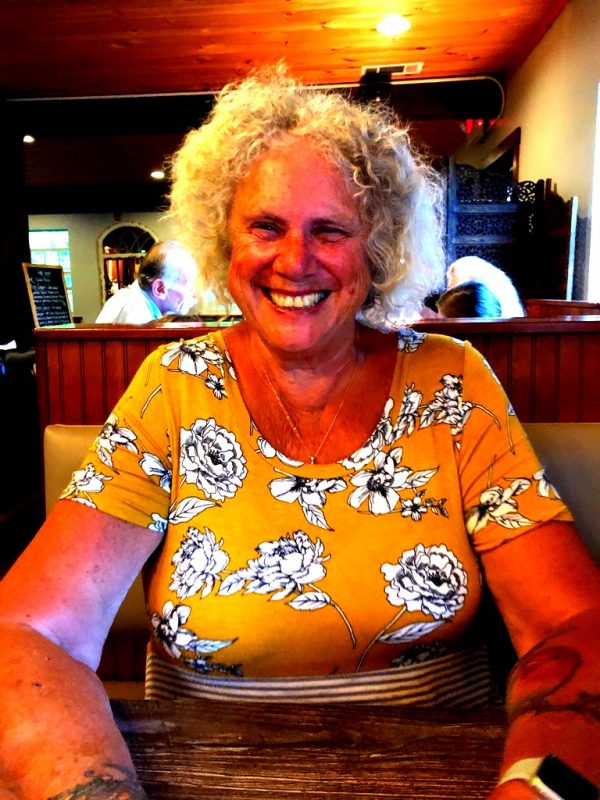
Original

Vivid– pushes the contrast of the photo

Vivid Warm – This is the vivid filter with warmer or more yellow color

Vivid Cool – This is the vivid filter with cooler or more blue color

Dramatic -This bumps up the shadows or darkest areas and brings down the highlights or brightest areas

Dramatic Warm – combines dramatic filter with warmer, more yellow

Dramatic Cool – combines dramatic filter with cooler, more blue tint
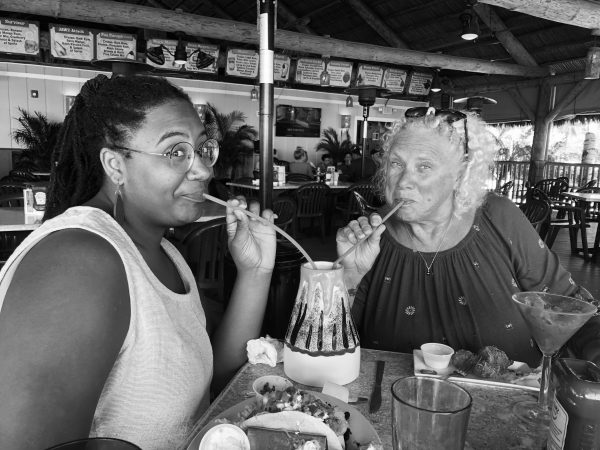
Mono – converts the image to B & W
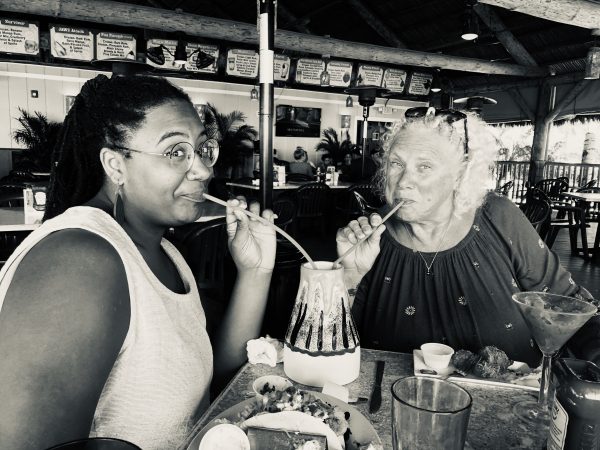
Silvertone – makes the picture B & W but also bumps up the shadows
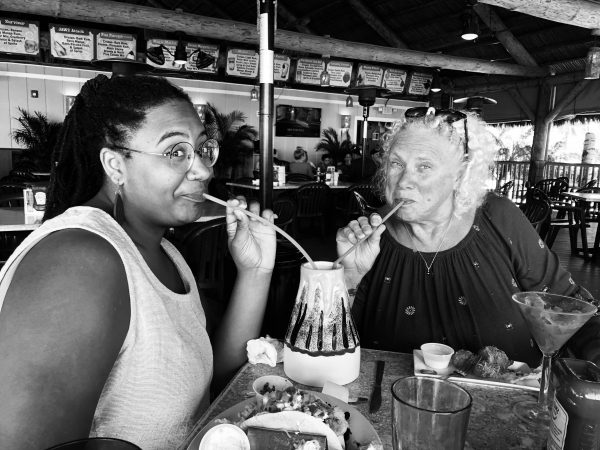
Noir – makes the picture B & W but also greatly increases the contrast
Those are the built-in pre-sets or filters in Apple Photos but you can add a lot more with apps and extensions. One free set of filters is available from MacPhun software called simply Filters for Photos. This will give you both a stand-alone app and an extension to Photos. They give you 15 free filters and if you sign up for their newsletter you get 15 more. They range from Alien Skin, Charcoal sketch, Brush strokes to Ancient canvas. Here’s just a couple:
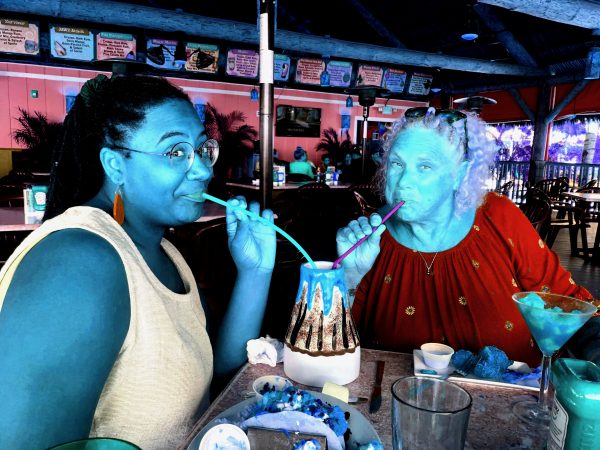
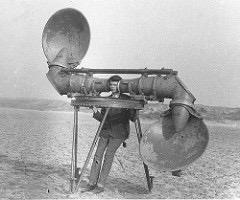
Alien Skin
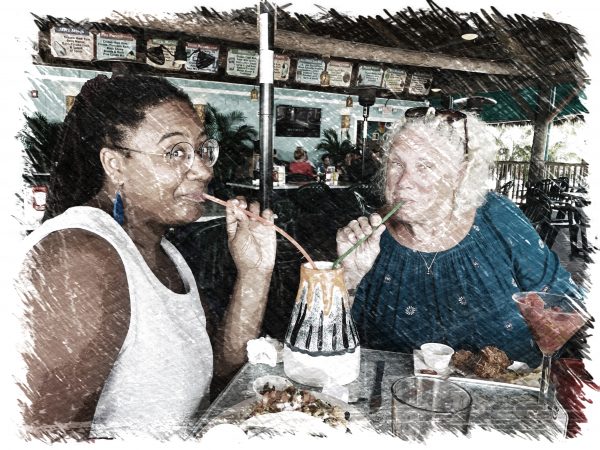
Color Charcoal Sketch
To add third party photo filters:
- In the Photos app on your Mac, double-click a photo, then click Edit in the toolbar.
- Click the Extensions button
 in the editing toolbar.
 - Choose App Store and search for apps you want to add to Photos, then follow the onscreen instructions to download and open an app.
The app now appears when you click the Extensions button in the editing toolbar in Photos.
Filters are a great way to quickly enhance your photos but next week we will discuss the wide variety of tools that will give you even more control over your photos. It would be nice if you could create and save your own filters like you can do in programs like Lightroom but for free Apple Photos is a powerful editing tool!