Setting Up and Managing iCloud+ Storage

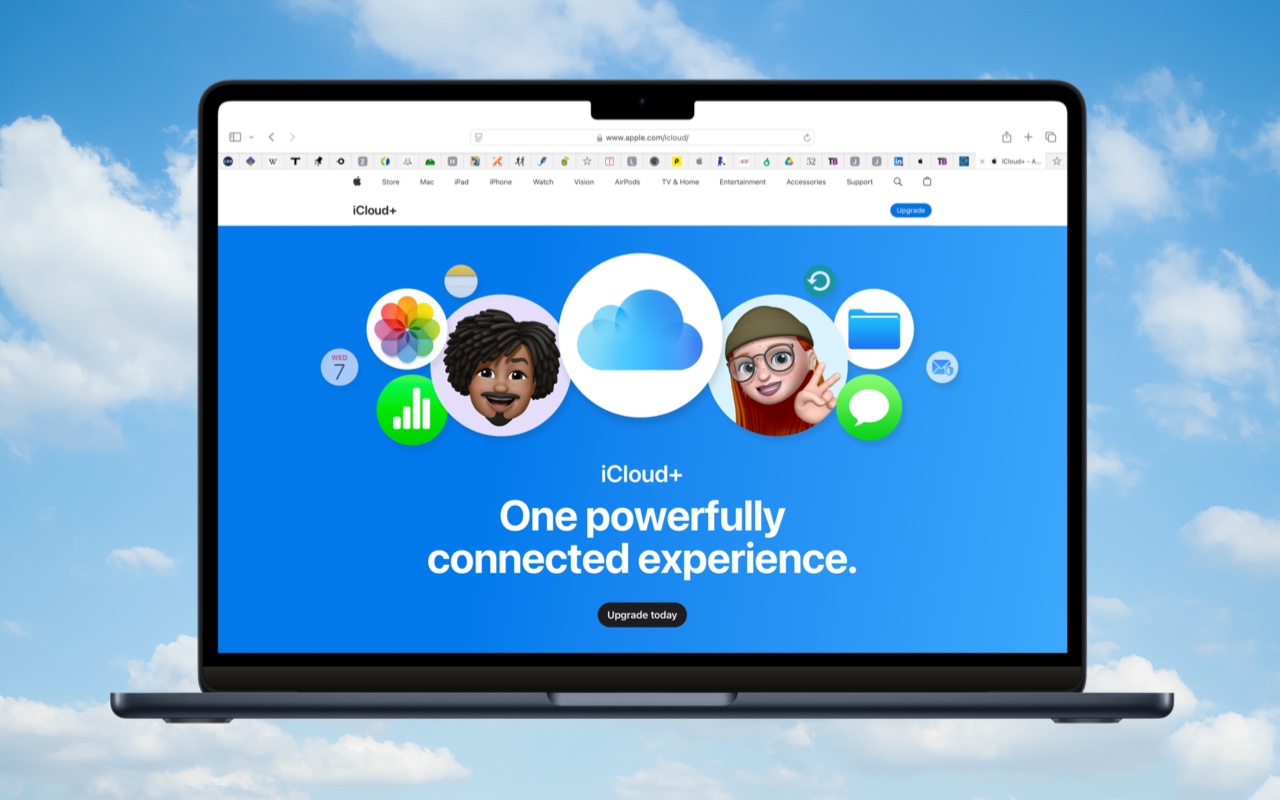
Apple’s online iCloud storage underpins many of the company’s services, including iCloud Photos, iCloud Drive, iCloud Backup (for iPhones and iPads), iCloud Mail, and Messages in iCloud. Numerous independent apps also rely on iCloud storage to sync data between devices.

Apple gives everyone 5 GB of storage for free, which is enough for core services, like iCloud Keychain, and to try the other services. However, those who wish to take full advantage of iCloud Photos and iCloud Drive, in particular, must subscribe to iCloud+. Along with extra storage, iCloud+ subscribers can use:

  • iCloud Private Relay, which blocks tracking of Safari traffic, DNS queries, and most non-HTTP Web traffic
  • Hide My Email, which creates random, unique email addresses that automatically forward to your inbox
  • Custom Email Domains, which lets you register your own custom email domain and use it in a personalized email address

For now, though, we’ll focus on storage. Apple’s iCloud+ rates are similar to those for storage at Google Drive and Microsoft OneDrive, though the specifics vary slightly by service. Apple charges:

  • 50 GB: $0.99 per month
  • 200 GB: $2.99 per month
  • 2 TB: $9.99 per month
  • 6 TB: $29.99 per month
  • 12 TB: $59.99 per month

Audit Your Storage Needs

How much you should get depends on how much data you wish to upload to start and how quickly you expect that amount to grow. For most people, iCloud Photos consumes more storage space than anything else, although syncing your Desktop and Documents folders between Macs using iCloud can also chew up space.

If you’re not currently using iCloud, use File > Get Info to determine the size of your Photos Library (located in your Pictures folder), and do the same for your Desktop and Documents folders if you want to sync them. You can also anticipate iPhone and iPad backups consuming up to 20 gigabytes or more.

Remember that you can share iCloud+ storage space with people in your Family Sharing group. Checking how much space others in your family would also like to use is worthwhile.

Get Started with iCloud+

Subscribe to iCloud+ in Settings/System Settings > Your Name > iCloud > Upgrade to iCloud+. (In pre-2024 versions of Apple’s operating system, tap Manage Account Storage and Change Storage Plan.)

Then, you can turn on iCloud Photos in Photos > Settings > iCloud on the Mac or Settings > Apps > Photos on the iPhone and iPad. (We recommend having one Mac use “Download Originals to this Mac” so you have a local copy of everything.) If it’s compelling for you, turn on Desktop and Documents folder syncing in System Settings > Your Name > iCloud > iCloud Drive on each of the Macs you want to participate—you don’t need to do anything on iPhones or iPads because everything from your Macs automatically appears in the iOS Files app. The initial sync, which uploads and deduplicates everything, can take days, depending on the upstream bandwidth of your Internet connection.

Once you’re set up, you can see and manage all the apps and services using iCloud. Go to Settings/System Settings > Your Name > iCloud, and next to Saved to iCloud, tap See All. Tap any app to see more information and change its settings.

Running Low on Storage Space

Like a physical drive, your iCloud account can run out of space. When that happens, you can delete data or pay for more space. To see how much you’re using and how that breaks down across different apps, open Settings/System Settings > Your Name > iCloud and, at the top, tap Storage or click Manage. You can then drill down to see more details about each app. For Photos, iCloud Drive, Backups, and Messages, Apple provides suggestions for removing large files to save significant amounts of space quickly. Most other apps offer only an option to delete all your data. Generally speaking, you should delete an app’s data only if you don’t anticipate ever using the app again.

As you get close to your space limit, your devices will prompt you to upgrade so you don’t encounter failures caused by a lack of space. Unsurprisingly, Apple makes it easy to upgrade to a larger tier.

Although there’s nothing exciting about online cloud storage, having more iCloud+ storage significantly improves the experience for those with multiple Apple devices who would appreciate a seamless photo experience with iCloud Photos, accessing their files anywhere, and backing up their iPhones and iPads without needing to connect to a Mac. iCloud storage works well and is reasonably economical for what you get.

(Featured image with background by iStock.com/wing-wing)


Social Media: Although it may not be exciting, having more iCloud+ storage significantly improves the experience for those with multiple Apple devices. We explain what iCloud+ provides, how much you should get, and how to get started.

Similar Posts

  • Keep Your Passwords!

    You have a password for the online banking, one for your Apple ID, one to log into your retirement amount. Your password for your bank has to have have at least one numeric number, but can’t start with a number and it can’t have any more than two of the same characters found in your username. Your retirement account must include at least 3 numbers and one special character but they can’t be consecutive.

    Does this sound familiar? In the perfect world we would only need one password, but unfortunately for security purposes and as hackers get better at what they do password strength has become critical and part of our everyday lives. The hassle with this is that most sites have their own sets of rules for password strength leaving many of us to peck away at our keyboards or devices in a sometimes endless game of “remember how you manipulated your favorite password 16 different ways and can’t remember if your banking site used the password with the capitalization or the one with the ampersand”.

    p{text-align: center;}. !http://blog.smalldog.com/images/4644.jpg!

    For a very long time I will admit my method of keeping track of my usernames and passwords was the stickies program on my Mac, much to the dismay of our IT manager! While stickies are easily accessed they are not secure and I do not recommend this method. Where you should keep them is in your keychain. You can access your keychain through applications and then utilities. Once you are in your keychain you can manually add preferred sites, accounts and passwords you wish to store. Another huge benefit is secure notes. Secure notes allow you store additional confidential information. Keychain is safe and secure because in order to view any of the passwords stored there you need to enter your administrator password. Within keychain you can make sure to safely and securely keep your passwords, and when you forget if you needed that capitalization or ampersand in your password you can simply open keychain and enter into the search field the website for which you need to confirm the password.

    Now what if you don’t have a mac? The loss of passwords, and most often your Apple ID password is a huge concern with users of iOS devices only. Luckily there is an easy solution for that, iCloud and “iCloud keychain.”:https://support.apple.com/en-us/HT204085 Simply go to settings, iCloud and then select keychain. Your iOS device will begin to store your logins and websites. Additionally you can add specific websites and passwords manually to your phone or iPad under **safari** and then selecting **passwords**. This is also where you would look if you can’t remember login information.

    Recording safely your logins and passwords is an often overlooked step, especially when users of iOS devices accidentally have the device damaged or lost. Saving your passwords safely and using iCloud keychain can avert your being logged out of accounts.

  • Why Every Business Needs an AI Policy

    Are employees at your company surreptitiously using artificial intelligence tools like ChatGPT, Claude, Copilot, and Gemini for everyday business tasks? It’s likely. An…

  • Who cares about QR Codes?

    By now you’ve probably seen one of those odd-looking white squares with a bunch of smaller square dots that make up a random pattern inside–that’s a QR code. QR stands for “Quick Response,” and a QR code is a form of barcode, just like on the packaging of nearly everything you buy.

    Usually QR codes are used to store Web links–URLs–so an ad can display just the QR code instead an unwieldy and hard-to-type web address. But QR codes aren’t just for ads. They’ve appeared on business cards, in magazines and books, on coins and bills, and even on tombstones–any place it would be nice to help someone load a Web link into a smartphone but where there isn’t enough room for a URL or in situations where viewers won’t remember the URL later. And the links? They can display anything that can appear on the Web: text, photos, videos, games, and more.

    Only one built-in iPhone app can scan QR codes–the Wallet app in iOS 9–but it can scan only QR codes that are associated with Wallet passes, things like airline boarding passes, concert tickets, and iTunes gift cards. For QR codes that encode any other sort of data, Wallet shows an error. It would be nice if Apple would add general QR scanning capabilities to Wallet or the Camera app, but until that happens, you’ll need another app.
    There are numerous QR code scanning apps in the App Store, but if you need a recommendation, give TapMedia’s QR Reader for iPhone a try. It’s free with ads (remove them with a $1.99 in-app purchase), scans both QR codes and traditional barcodes on most commercial products, and displays the associated information within the app. It can even help you create your own QR codes.

    To use a QR code scanner, launch the app, allow it to access the camera when it asks, and then point it at the QR code. Good apps will scan nearly instantly, but if not, move the camera so the QR code is centered between the guides. If even that doesn’t work, move forward or back so the camera can focus on the centered code.

    Once the code has been scanned, the app will usually bring up an in-app Web browser to display whatever was encoded. For certain kinds of data, like books or grocery items, the app may go right to Amazon or a price comparison site. Good apps will also keep a record of sites you’ve scanned, so you can go back to them later, even if you can no longer scan the QR code.

    So download a QR code scanning app and keep an eye out for QR codes. Once you start looking, you’ll find them everywhere–it’s a modern-day treasure hunt!