I am the kind of gal that admittedly likes gadgets and accessories just because they are cool, I don’t even need to have a use for them to make me want one! If there is a new iPad case, a new speaker, a new product announcement from Apple, I want it. This has resulted in a vast collection over the years of all kinds of gadgets, gizmos and some stuff that I just hang onto for no good reason other than I might need it one day. Some things have been a bit of a fad, others have stood the test of time. Over the years I have found that I few items in my collection of gadgets that have either become invaluable or the kind of item that really stands the test of time.
p{text-align: center;}. !http://blog.smalldog.com/images/4651.jpg!
My first must have and favorite gadgets are portable bluetooth speakers, and I have had several over the years. The battery powered speakers from Skullcandy I had were one of my most favorite pocket sized speakers! It took up little room in my bag and I could have my music wherever I wanted. You never realize how much you miss having music wherever you go until you start to use these kinds of speakers and then suddenly don’t have them! I eventually outgrew my little Skullcandy speakers and upgraded to a larger but still portable Altec system. This speaker system went everywhere with us. In fact, it still travels with us in our camper even though it features a 30 pin connection for our phones. What I loved most about this set up was that it had a rechargeable battery, so unlike my little Skullcandy speakers I didn’t need to worry about carrying around spare AA batteries. It also allows me to use a 3.5mm headphone cable and an FM radio. I recently started to use the “**Outdoortech Turtle Shell**”:http://www.smalldog.com/product/85338/outdoor-tech-turtle-shell-2-0-rugged-wireless-boombox-electric-blue speakers to replace the old Skullcandy speakers for immediate portable sound, and as a huge bonus this speaker is bluetooth, something none of my previous portable units had. I will admit, I still haven’t found a better replacement for my aging Altec portable speaker as far as sound quality goes, but I will also admit finding a newer solution would require my having to let go!
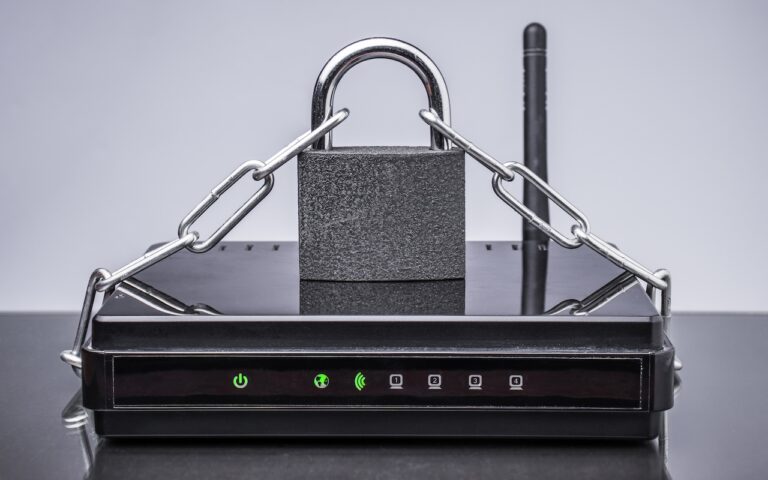
My second must-have gadget is an airport express base station. You might be surprised that it is not the Airport Extreme. Why do I love the “**airport express**”:http://www.smalldog.com/product/80932/apple-airport-express-base-station-802-11n-wi-fi so much? Well part of it might be a bit nostaglic. It was my first introduction into wireless speakers. How cool was it to plug in my Harmon Kardon speakers, simply tap my iPhone while sitting on the couch, and my speakers came to life like magic? But the great features don’t stop there. It’s a really powerful and inexpensive wireless router. For many, we don’t have huge areas we need to cover with wireless. Maybe it’s just a small apartment, or perhaps your house just isn’t that big. When I first started to use the airport express the one draw back was that the only ethernet port had to be designed (in most cases) for your internet modem, but in recent years Apple has added a second ethernet port allowing for more flexibility and versatility with this little gem.
p{text-align: center;}. !http://blog.smalldog.com/images/4650.jpg!
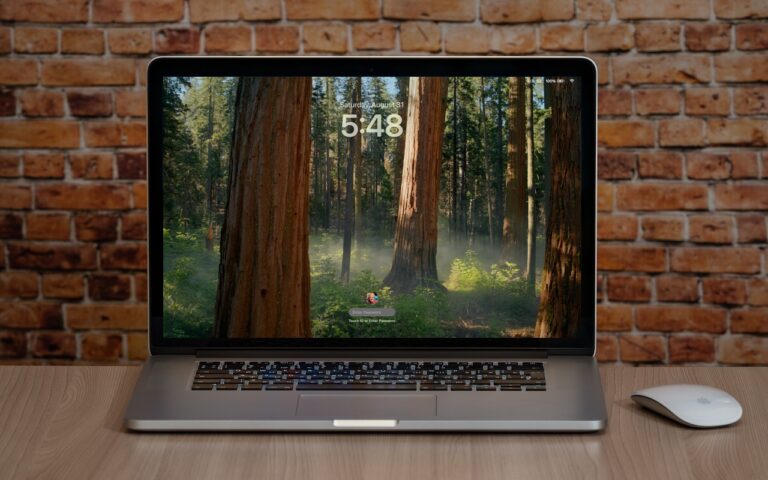
iPad and iPhone cases are another huge weakness of mine. I probably have no less then five cases for my phone and for my iPad. You could say I collected cases like some girls collect shoes! But on a serious note, this is a very important accessory for your iPhone or your iPad. Some folks prefer form fitting and minimal, others prefer a more rugged case. I have come to prefer several cases. However, I think cases that combine both slim form factor and serious protection are the “**Lifeproof**”:http://www.smalldog.com/wag900002119 cases. I have one for my phone and one for my iPad. What I love most of them is that they come off easily! I don’t always want a heavy duty case on my devices, but have found that many cases that offer greater levels of protection end up being very difficult to take off your device.