Security Precautions to Take While Traveling
When we think about digital and device security, we mostly think about the fixed locations where people spend most of their time—home, school, and work. But what about when you’re traveling? Some security concerns remain the same when you’re on the road, but new ones crop up.
We’ll assume that you already keep your devices up to date, use FileVault on Macs, have at least a six-digit iOS passcode, have strong password habits, and use multi-factor authentication wherever possible. Other options are more specific to travel.
As with our more general article about increasing security last month, we’ve divided our list of suggestions into two parts: things that everyone should do and measures that only people who worry about being specifically targeted should employ.
Sensible Travel Security Precautions for Everyone
These suggestions are appropriate for everyone who travels, and they’re aimed primarily at avoiding relatively common problems: loss, theft, data loss, and generalized snooping:
- Focus on physical security: As a tourist, you may be targeted by thieves, so it’s important to keep your iPhone in a secure pocket whenever you’re not using it. Carry an iPad or laptop in a bag that can’t be snatched, or leave them locked or at least concealed in your hotel room.
- Enable Find My for all your devices: You should have already done this, but if not, enable Find My to improve your chances of finding a device you lose or accidentally leave behind. It might help if the device is stolen, but local police cooperation for recovering stolen items can vary widely. Don’t attempt to recover a stolen device yourself.
- Put AirTags in your luggage and laptop bags: AirTags can help you track down lost luggage—you can now share their locations with airlines—and prevent you from accidentally leaving bags behind. An AirTag may also help with locating a stolen item, but always work with local law enforcement.
- Enable biometric authentication and Stolen Device Protection: Using Face ID or Touch ID wherever possible and having Stolen Device Protection enabled on your iPhone in Settings > Face/Touch ID & Passcode is even more important when traveling.
- Use a VPN or iCloud Private Relay: Because you may be using Wi-Fi networks whose security you know nothing about, it’s best to use a VPN like Mullvad VPN, NordVPN, or ProtonVPN to encrypt all your traffic. At a minimum, use iCloud Private Relay, which requires an iCloud+ subscription and won’t encrypt traffic from most non-Apple apps.
- Use iCloud Photos or another backup option: To ensure you don’t lose precious vacation photos, use iCloud Photos so all your photos are uploaded to the cloud whenever you have access. This will almost certainly require an iCloud+ subscription for sufficient storage space. If Wi-Fi and cellular are too slow or unavailable, consider an external SSD to which you can manually export photos and videos for backup. To speed up the process, you could create a shortcut that automatically copies all photos taken that day.
- Use iCloud Backup: It’s best to use iCloud Backup to back up your entire iPhone every night. That way, if your iPhone is lost or destroyed, you may be able to buy a replacement and restore from backup in relatively little time. You will probably need an iCloud+ subscription to have enough backup space.
- Practice dealing with a lost or stolen device: If the worst happens and you lose one of your devices while traveling, you need to know what to do. Immediately go to Find My on another device or iCloud.com and mark the device as lost. If there’s a chance of getting it back, stop there. However, if you believe the device was stolen, your data is at risk, and tracking it is no longer useful, use Erase This Device in Find My to wipe it. Activation Lock will remain enabled to prevent anyone from reusing the device.
Increasing Travel Security for People Who May Be Targeted
Not all travel is fondue and gamelans. If you’re a journalist, activist, government employee, or corporate executive with access to sensitive data, you could be a target while traveling. This is particularly true if you are headed to countries like China, Russia, or others with authoritarian governments and powerful intelligence agencies. Along with the suggestions above, we recommend:
- Be aware of local laws and government practices: It’s important to read up on regional laws regarding data access and potential government capabilities at your destination. Knowing what to expect can help you reduce your risks and take appropriate precautions.
- Use caution with cellular access: Even if your carrier allows roaming, consider using a dedicated eSIM for international travel, separate from your personal one. That way, you can use local cellular networks without revealing your home number. Be aware that your traffic may be monitored.
- Enable Lockdown Mode: If you’re concerned about your iPhone or iPad being targeted by local law enforcement or government intelligence agencies, turn on Lockdown Mode in Settings > Privacy & Security > Lockdown Mode. To increase security, it blocks most attachment types in Messages, complex Web technologies, incoming FaceTime calls from unknown callers, non-secure Wi-Fi network connections, and incoming invitations to Apple services. Plus, it excludes location information from shared photos, requires approval to connect accessories, and more.
- Reduce and protect your use of cloud services: While using a VPN is essential, you should still avoid using cloud services much if government entities might have access to stored files. If you need to upload files, encrypt them first using the free and open-source Cryptomator.
- Know how to disable Face ID and Touch ID: If you find yourself in a situation where you believe you may be compelled to unlock your iPhone or iPad with your face or fingerprint, press and hold the side or top button and either volume button to display the power off slider. This temporarily disables biometric authentication, requiring your passcode for the next unlock.
- Use dedicated travel devices and accounts: If you’re traveling to a potentially hostile part of the world, we strongly recommend carrying only devices—preferably iPhones or iPads, which are more secure than Macs—configured to contain none of your personal data or regular accounts. Keep them with you at all times, assume they could be confiscated, and be aware you might be compelled to share passcodes or other account information. Create a separate Apple Account for such devices.
Best of luck in your travels! With just a little preparation, you can reduce the chances that something bad will happen during a vacation. If you’re traveling on business to somewhere more concerning, putting in additional effort could prevent truly problematic things from happening.
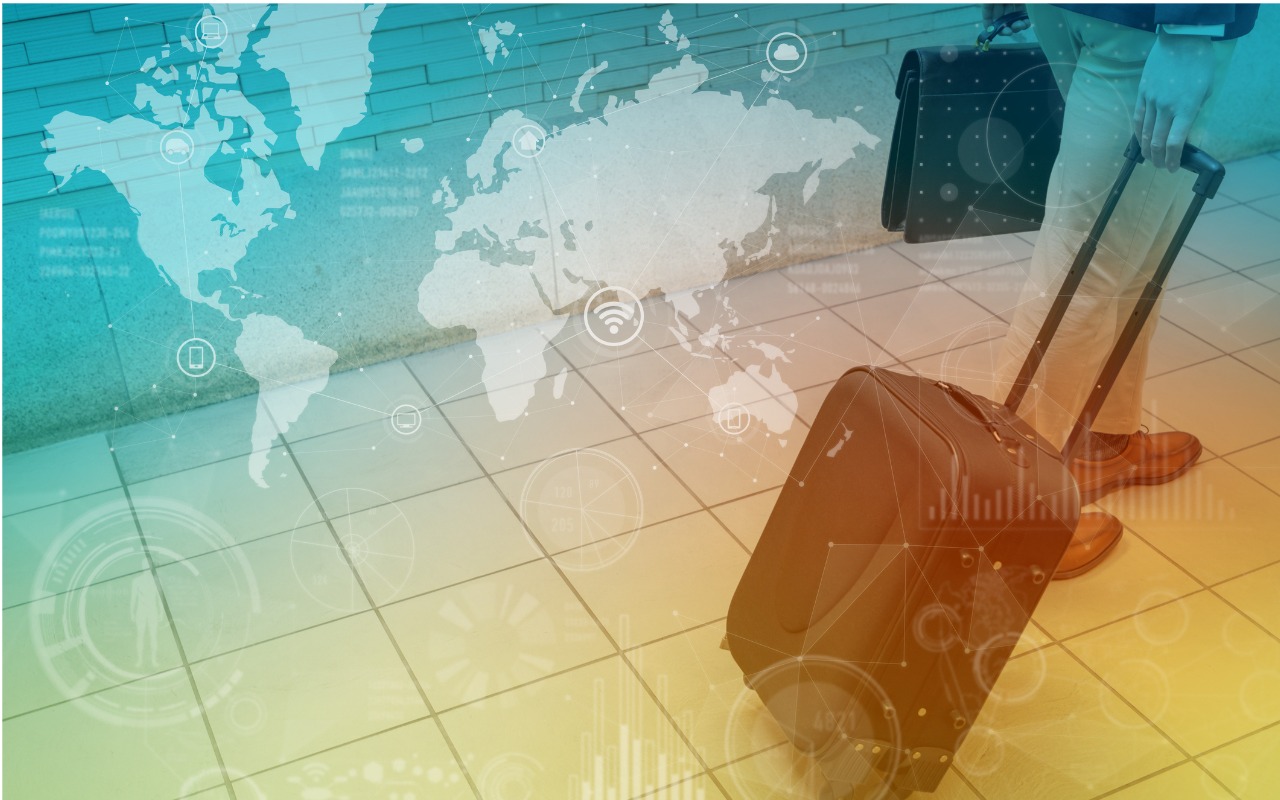
(Featured image by iStock.com/metamorworks)
Social Media: Security at home is one thing, but what about when you’re on the road? Many of the same precautions apply, but depending on your level of concern and where you’re going, additional techniques can help keep you and your data safe.