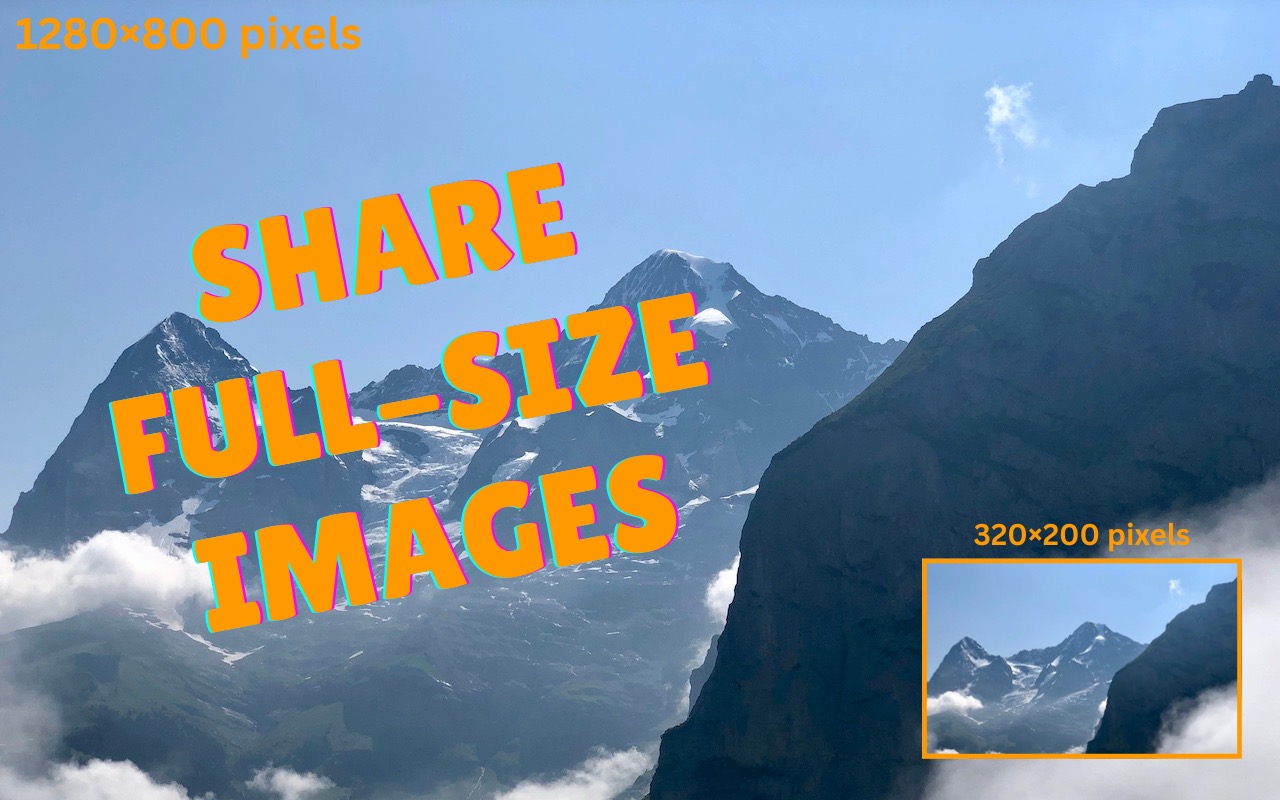
It’s Usually OK to Share Full-Size Images in Email and Messages
In the early days of the Internet, when most people connected via slow modems, saving bandwidth was a big deal. You could watch images load on Web pages, and you’d have to wait to download a large email attachment before the rest of your email would appear. For most people, in most situations, bandwidth isn’t nearly as big of a deal anymore. The average Internet download speed in the US is nearly 250 megabits per second, such that most Web pages load instantly, email just appears, and we think nothing of having multiple video streams playing at once.
All that’s by way of saying that you don’t have to shrink images that you share in email or Messages in most cases, and doing so can cause problems for recipients. The most common issues people run into are images being too small or fuzzy to see, not matching the dimensions needed for a website, or being too low quality to save for posterity.
There are exceptions. Smaller or lower quality images may make sense when sending or receiving in rural areas with slow Internet connections, places with no Wi-Fi and tenuous cell service, and remote locations with only satellite Internet. In those cases, you’ll either realize that messages are taking a long time to send or hear from the other party that it’s a problem. But, most of the time, it’s best to send actual size images, so let’s look at how you ensure that.
Sending Actual Size Images in Email
How do you ensure you’re not sending downsized images in email? In Mail on Apple’s devices, the details vary slightly depending on which device you are using, but in each case, you want to use the Actual Size option. Neither Gmail nor Outlook suffers from this problem. Here’s what you need to know for each of these email clients:
- Mail on the Mac: When you drop an image into a Mail message, an Image Size menu specifies the size at which it will be sent. Small resizes the longest side to 320 pixels, Medium to 640, and Large to 1280. Actual Size sends the original image, which is what you want. The Image Size menu remembers its setting, so if you send one image in a smaller size, you probably want to reset it to Actual Size for the next one. If you attach multiple images in a single message, they’ll all be resized similarly.

- Mail on the iPad: On the iPad, when you add an image to a message, you’ll see a note in the header information that says something like “Images: 2.9 MB.” Tap anywhere in the header to reveal extra header fields, including an Image Size line with options for the different sizes. Small and Medium work as on the Mac, resizing the longest side to 320 and 640 pixels, and Actual Size sends the original, which is generally what you want. However, Large resizes the image to half the size of the original if appropriate or leaves it alone if not. Multiple images will be resized to the selected size.

- Mail on the iPhone: Because of the iPhone’s smaller screen size, Mail on the iPhone asks how to resize the image(s) after you tap the send button. The results are the same as on the iPad, described above.

- Gmail on the Web: You don’t need to do anything when sending images in Gmail to prevent them from being resized. Although Gmail lets you visibly resize an image with handles and offers Small, Best Fit, and Original options when you click, none of them change the file size or resolution of the image being sent. Only some receiving email apps (including Gmail and Outlook, but not Mail) will display the sent size. Regardless of the visible size, opening an attached image reveals that it’s the original. Note that Gmail has a 25 MB limit on attachments and may refuse to send a message with more than that or may resize images to make them fit. If you need to send an image at a particular size using Gmail, resize it before attaching—see below for a tip on how to do that.

- Outlook on the Mac: You can visibly resize images sent in Outlook on the Mac, but doing so affects only the displayed size, not the file size or resolution of the attached image. Email clients receiving an Outlook-resized image may do so at the sent size, but opening it reveals that it’s the original image. If you need to send an image at a smaller size, resize it before sending—read below for help.

Avoiding Lower-Quality Images in Messages
Although it may seem confusing, keeping images from being resized in email is pretty straightforward. Ensuring that you send full-quality images in Messages is trickier because there are multiple variables in play:
- Turn off Low Quality Image Mode: Make sure you turn off Settings > Messages > Low Quality Image Mode on the iPhone and iPad. (The Mac has no comparable setting.) This mode downsizes images sent via iMessage (blue bubble conversations), making them smaller and lower quality. Only turn it on if it’s paramount that you save bandwidth due to a slow connection or data cap.

- Avoid sending via SMS/MMS: There’s no need for Low Quality Image Mode for messages sent via SMS (green bubble conversations) because the MMS technology used to send images for SMS conversations has size limits that vary by carrier, usually between 500 KB and 3.5 MB. Messages automatically resizes and compresses images to fit within carrier limits. You have no control over this process, which is likely to be unpredictable. If you need to send someone a full-quality image, use email instead of SMS. Happily, in iOS 18, Messages will support the RCS standard that allows full-quality images.
- Prefer high-speed connections: Although Apple doesn’t document anything along these lines, some suggest that Messages may reduce image size or quality when using slow networks. If you (or your recipient) experience issues while using weak cellular connectivity, try again when connected to the Internet via high-speed Wi-Fi.
Bonus Tip: How to Resize an Image Manually
Let’s flip the problem around. Say you use Gmail or Outlook and need to send an image with specific dimensions or a smaller file size than the original. How do you do that easily? Preview! That’s right, Apple’s Preview works well for resizing images and shrinking file sizes.
To resize an image you have open in Preview, choose Tools > Adjust Size and enter the desired width or height into the appropriate field. As long as Scale Proportionally is selected, Preview will automatically set the other dimension to resize the image proportionally. You can choose other units, but pixels is generally best. Preview even reports on the resulting size at the bottom. After you click OK, save the image.

What if you want to reduce an image’s file size without changing its dimensions? With the image open in Preview, choose File > Export, choose JPEG from the Format menu, and move the Quality slider to the left to increase the JPEG compression. Preview reports on the new file size each time you move the slider. You’ll want to export a few tests to determine the best combination of file size and quality.

Generally speaking, changing an image’s dimensions is a better way to reduce file size than increasing compression.
But really, in most cases, just send the original image.
(Featured image by Adam Engst)
Social Media: It’s frustrating to receive a small or fuzzy image via email or Messages. There’s no need for it in most cases, and we explain how you can be sure you’re sending full-size images.