In Times of Uncertainty, Increase Your Digital Privacy and Security
With so many troubling things happening in the world, some clients have inquired about ways to enhance their security. While we don’t want to encourage paranoia, there are many legitimate threats, and everyone will have their own levels of worry about each one.
The effort and inconvenience that different people are willing to endure also vary. Higher levels of security often necessitate significant effort and inconvenience. We have divided our list of suggestions—roughly organized from easiest to hardest—into two sections: actions we believe everyone should take and security measures mainly for those most concerned and willing to tolerate some fuss.
Before we delve into the details, it is important to remember that privacy and security are not the same thing. Privacy refers to the proper collection, use, and governance of personal data. Security, conversely, is concerned with protecting data from unauthorized access and malicious threats. It entails defending data against external dangers, while privacy ensures that the management and use of that data adhere to agreed-upon standards.
Security Improvements for Everyone
These actions are generally beneficial for most users. They don’t require much technical knowledge and can often be accomplished with easily accessible tools and settings:
- Keep apps and operating systems up to date: Nearly every operating system update from Apple addresses numerous security vulnerabilities, and the same is often true for major apps. Always ensure you’re running current versions to take advantage of all those security improvements.
- Enable FileVault: While all data on the internal SSDs of Macs with Apple silicon and Intel-based Macs with the T2 chip is automatically encrypted to prevent unauthorized access if the SSD is removed, it is automatically decrypted whenever the Mac boots, even before you log in. To link decryption to your user account, which makes your login password necessary to decrypt all data, enable FileVault in System Settings > Privacy & Security > FileVault. There are essentially no drawbacks.
- Improve your passcode: For nearly a decade, it has been easy to set a six-digit passcode on the iPhone and iPad, greatly enhancing security compared to the previous standard four-digit passcode (1 million possible combinations versus only 10,000). If you still use four digits, consider switching to six digits, a custom number of digits, or a custom alphanumeric passcode in Settings > Face ID/Touch ID & Passcode > Change Passcode > Passcode Options. Alphanumeric passcodes offer the highest level of security but are more challenging to type.
- Turn on biometric authentication and Stolen Device Protection: If you aren’t already using Face ID or Touch ID on your iPhone or iPad, that’s a mistake. Both provide significantly stronger security than repeatedly entering your passcode, which could be observed. Turn on biometric authentication and Apple’s Stolen Device Protection in Settings > Face/Touch ID & Passcode.
- Adopt strong password habits: If security matters at all to you, you must use a strong, unique password for each online account and never reuse a password. It’s easy and secure as long as you create and store passwords with a password manager like Apple’s Passwords or 1Password.
- Enable MFA whenever it’s available: Multi-factor authentication greatly enhances security, safeguarding you even if your password is compromised in a breach. It typically requires entering a six-digit code that you retrieve from an app or receive via text message. Apple’s Passwords and 1Password can both automatically enter MFA codes for many websites.
- Use an ad blocker: Much of today’s surveillance society relies on ads to track you. Anything you can do to block ads will enhance your privacy, so use ad blockers whenever possible. Highly regarded options include 1Blocker, AdGuard, NextDNS, and uBlock Origin.
- Enable privacy and security features in Web browsers: Safari can prevent cross-site tracking and hide your IP address, along with other privacy and security features. In Safari > Settings, review all the options in the Privacy and Security screens and enable those that are appropriate. (Keep cookies and JavaScript enabled; many sites won’t function properly without them.) If you don’t use Safari, choose Brave or Firefox instead of Google Chrome.
- Utilize secure DNS services: To enhance browsing privacy and protect against DNS leaks, configure your devices to use a privacy-focused DNS service like Cloudflare’s 1.1.1.1 or Quad9’s 9.9.9.9.
- Minimize app exposure: Be vigilant about iPhone or iPad apps that might be sharing information about you with data brokers without your knowledge. Specifically:
- Turn off Settings > Privacy & Security > Tracking > Allow Apps to Request to Track.
- Rescind location tracking permissions for all apps except those that require it, such as navigation or weather apps, in Settings > Privacy & Security > Location Services.
- Delete apps you’re not using to prevent them from spying on you.
Security Improvements for the Particularly Concerned
Implementing these actions may require extra steps, specialized knowledge, or significant changes in habits. They’re primarily for those with heightened concerns or those at greater risk, such as journalists, activists, and individuals handling sensitive data:
- Use independent search engines: Google and Microsoft are known for collecting information about their users. To keep your searches private, use a search engine that prioritizes privacy, such as DuckDuckGo, Brave Search, Kagi, or Startpage.
- Protect network traffic: While we used to recommend ensuring you were using secure HTTP (HTTPS) connections, that’s now the bare minimum. For greater privacy while browsing the Web with Safari, turn on iCloud Private Relay in Settings/System Settings > Your Name > iCloud > Private Relay. (This requires an iCloud+ subscription and won’t encrypt traffic from most non-Apple apps.) More broadly, you can safeguard all your traffic by using a trusted VPN service like Mullvad VPN, NordVPN, or ProtonVPN.
- Activate Advanced Data Protection: End-to-end encryption (E2EE) keeps your online data private from everyone, including cloud providers. However, it requires you to manage your encryption keys, which means no one can help recover your data if you lose those keys. You can enable E2EE with Apple services using Advanced Data Protection; turn it on in Settings/System Settings > Your Name > iCloud > Advanced Data Protection.
- Use encrypted messaging: The iMessage system used by Apple’s Messages app for blue bubble conversations is highly secure, particularly with Advanced Data Protection enabled. However, for the most secure messaging with E2EE, look to Signal. While WhatsApp also offers E2EE, its backups might not be encrypted, and its parent company, Meta, is one of the most egregious privacy abusers on the planet.
- Regularly review and revoke permissions: Periodically check and manage app permissions on your device to ensure that no apps have unnecessary access to sensitive information, such as your contacts or location. Work through the options in Settings/System Settings > Privacy & Security and revoke permissions for anything that seems inappropriate. Apps that require additional permissions will always prompt you again.
- Encrypt cloud-stored data: To ensure that cloud storage services like Box, Dropbox, Google Drive, and OneDrive cannot read your data, use the free and open source Cryptomator to encrypt it first.
- Use encrypted email: While it’s impossible to ensure that email will remain private because you can’t control your recipients’ actions, the most privacy-focused email services are ProtonMail and Tuta Mail. They employ E2EE for emails sent to other users of the same service and allow the encryption of email messages sent to any external recipient.
- Reduce reliance on cloud services: If you have general concerns about cloud services, consider exploring peer-to-peer alternatives that remove the need for a central provider. You can find peer-to-peer solutions for file storage, file sharing, chat and messaging, videoconferencing, collaborative documents, cloud-based notes, and more.
- Avoid social media: Posting on social media, especially on platforms owned by large corporations, allows those companies to create a comprehensive profile of you that is shared with advertisers and is vulnerable to data breaches. Further, any information you disclose about yourself could be exploited by hackers in social engineering attacks targeting your accounts. Consider replacing social media with independent forums devoted to your interests and private messaging spaces for friends and family.
Ultimately, enhancing privacy and security is your responsibility. Apple and other companies may offer tools to assist, but it’s up to you to implement them and stay vigilant against new threats. We’re also happy to provide advice and assistance.
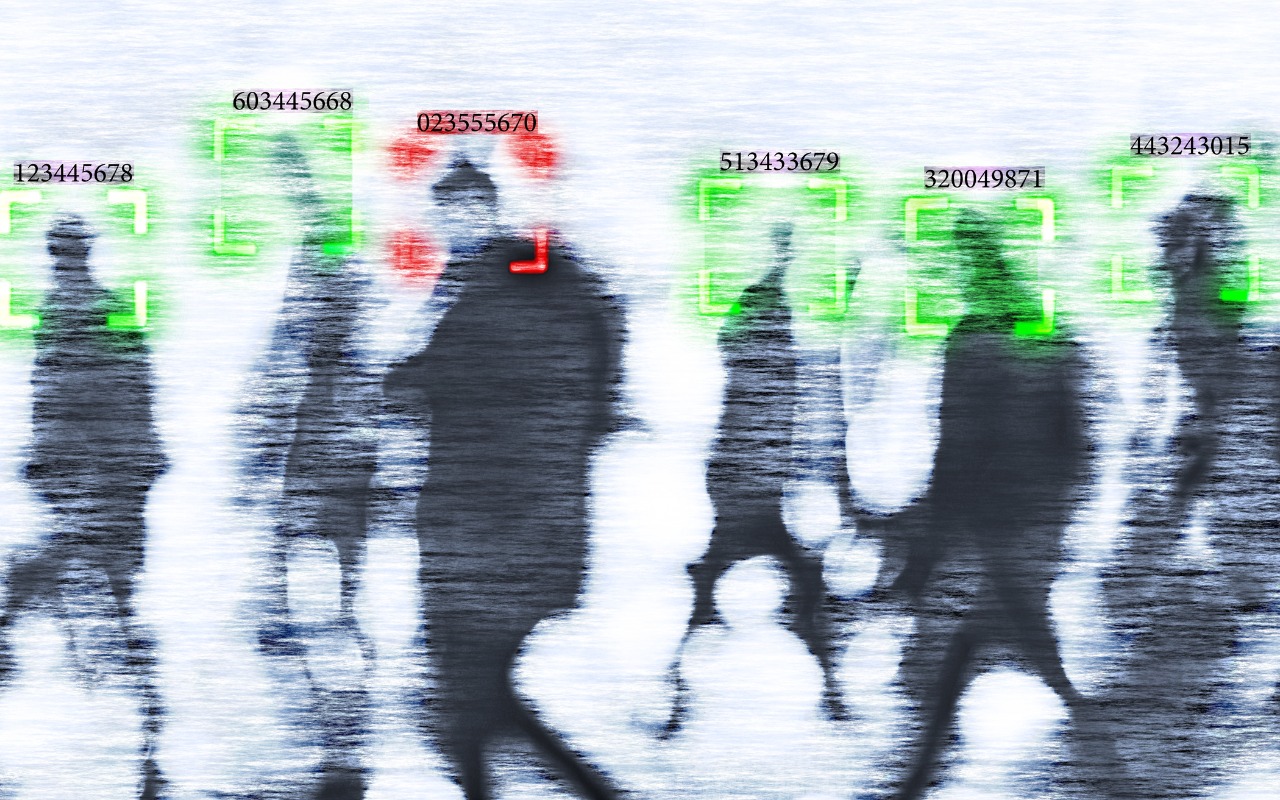
(Featured image by iStock.com/andreusK)
Social Media: If world events have you worried about your online privacy and security, you may be interested in minimizing your exposure. We recommend some simple steps that everyone can take and other actions for those who are especially concerned.