Don’t Assume That Top Google Search Results Are Guaranteed Safe

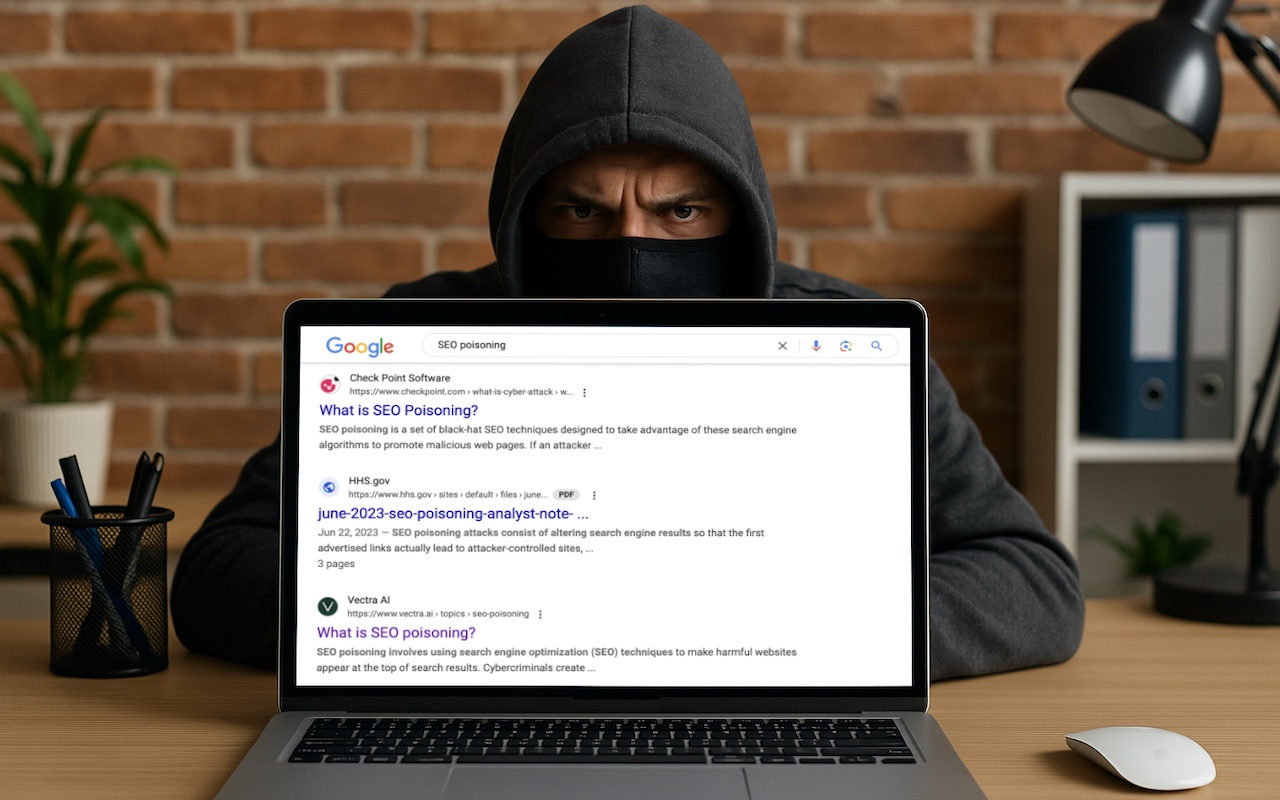
We hate to encourage paranoia, but all is not well with Google Search. Recently, we’ve heard of multiple instances where people were nearly taken advantage of due to relying on the top result in a Google search. In one case, a user called a purported HP support phone number directly from the search results but ended up speaking with a scammer. In another, a user thought they were downloading the latest version of Dropbox but got malware instead. In neither case could we reproduce the error, but they may have resulted from “SEO poisoning,” a malicious technique in which cybercriminals manipulate search engine optimization (SEO) strategies to elevate harmful websites in search results. In short, don’t assume that a site at the top of Google search results is guaranteed safe when downloading software or contacting a company. It’s best to navigate directly to a company’s official website before trusting that corporate information and software downloads are legitimate.

(Featured image based on an original by iStock.com/Armastas)


Social Media: You know that the phrase “I read it on the Internet, so it must be true” is absurd, but you should extend that skepticism to Google search results. We’ve seen two recent instances of malicious content bubbling to the top of searches. Trust but verify.

Similar Posts

  • A Swinging Hot Spot in Paradise

    You are visiting Key West, accompanied by your trusty iPhone and MacBook Air. Suddenly there’s an emergency at work, and you need to get online with your Mac. You can pick up a cell signal with the iPhone, but there’s no Wi-Fi that isn’t locked up. Well, my first thought might be “oh well, I’m on vacation!” but you are dedicated and need to be online.

    Don’t worry! You can use your iPhone’s cellular data plan to create a personal Wi-Fi hotspot that lets your Mac access the Internet through your iPhone. Also called “tethering,” it’s fast, easy, and can be a life-saver when you just have to get online with a Mac or your Wi-Fi-only iPad. It supports up to 5 users, too, which means you can get your team online, too!

    Before we explain how to do set up a personal hotspot, note that most but not all cellular carriers allow tethering on existing plans. For some, you might have to pay more for tethering. Keep in mind that any data consumed by your Mac while tethered will count against your data allowance and may generate overage fees. Carriers with “unlimited” data, like T-Mobile and Sprint, generally throttle your bandwidth to slower speeds if you use too much data.

    Along those lines, if you use a file sharing service like Dropbox or Google Drive, or an Internet backup service like CrashPlan or Backblaze, turn them off before connecting. Particularly if they haven’t connected in a while, those services can transfer a lot of data quickly, which could result in a hefty overage charge or awkward data throttling for the rest of the month.

    With those warnings out of the way, follow these steps in iOS 9 to turn on Personal Hotspot:

    1. On your iPhone, if you’ve never enabled the feature before, go to Settings > Cellular > Personal Hotspot. Once you’ve turned Personal Hotspot on once, it moves up a level, so you can access it from Settings > Personal Hotspot.
    1. Tap on Wi-Fi Password and enter a password that’s at least 8 characters long and easy to type. It doesn’t need to be super secure because you can keep Personal Hotspot turned off unless you’re using it. But you do want a password so random people nearby can’t connect and use your data.
    1. Once you’ve entered a password, slide the Personal Hotspot switch.

    That’s it! The Personal Hotspot screen provides basic instructions for connecting to the iPhone via Wi-Fi, Bluetooth, and USB. Stick with Wi-Fi, since it’s the easiest and most reliable in most cases.

    • To connect to your new Personal Hot Spot on your Mac, click the Wi-Fi icon in the menu bar and choose your iPhone’s name.
    • On your iPad, go to Settings > Wi-Fi and choose your iPhone.
    • Enter your password when prompted, making sure to select Remember This Network. That way, you won’t even have to enter your password the next time.
    • The Mac or iPad then connects to your iPhone, showing a hotspot icon instead of the usual wave icon for the Wi-Fi menu.

    Could it get any simpler? When you’re done, the safest thing to do, to ensure you don’t accidentally end up using too much of your data allowance, is to turn off the Personal Hotspot switch in Settings > Personal Hotspot. Your Mac or iPad will automatically disconnect.

    Actually, it CAN be simpler! Your Mac can automatically use the personal hotspot on your iPhone to connect to the Internet when they’re within range of each other.

    Use Instant Hotspot on your iPhone (with iOS 8 or later) to provide internet access to your Mac computers and other iOS devices (with OS X Yosemite or iOS 8) that are in range and signed into iCloud using the same Apple ID. Instant Hotspot uses your iPhone — you don’t have to enter a password or even turn on Personal Hotspot.

    Make sure your iOS device and your Mac are signed into iCloud with the same Apple ID.

    On your Mac, click the Wi-Fi status icon in the menu bar, then choose your iPhone or iPad.

    After you connect to the iPhone or iPad Personal Hotspot, you can check the cellular signal strength and the battery status of the iPhone or iPad in the Wi-Fi status menu.

    When you’re not using using the hotspot, your devices automatically disconnect to save battery life.

    One more big advantage of Personal Hot Spots. When you are shopping for that new iPad, perhaps you don’t need the cellular model if you nearly always have your iPhone handy. That’s what I do. If I need internet access on my Wi-Fi iPad, I simply connect to my Hot Spot! Saves me the added cost of a cellular-enabled iPad and the monthly fees from the cell carrier!

  • _Dear Friends,_

    The trip up the the Everglades was pretty uneventful although we did see alligators and eagles as we were watching nature go by. Grace wants to go back up for an airboat ride so we will have to put that on the list.

    I am very happy to report that Small Dog Electronics now offers Go-Pro cameras and accessories. It took us many tries but I was able to meet with someone that could make a decision at CES in Las Vegas so we are now all set and Go-Pro should be in all of our stores. We’ll feature skiing and motorcycling kits up in the Green Mountains and some surf-oriented bundles down in Key West.

    I guess this should be in a soapbox but I just want to make a quick statement that I feel that Tim Cook and Apple are 100% correct in resisting the government’s attempt to force them to create software to defeat the encryption inherent in the iPhone. One of Apple’s most valuable commodities is safety. You know when you buy an Apple product that your data is safe. Safe from most viruses, malware, ransomware and also that your private data remains just that…private. While I certainly sympathize with those investigating the horrible San Bernadino terrorist actions, I do not feel that we should pay an even higher price and sacrifice our liberty and privacy as a result. Bravo to Tim Cook and Apple.

    This week’s Kibbles & Bytes exclusive is the “**Tempus Pro Weather Station.**”:http://www.smalldog.com/wag900002092 This complete wireless weather station has been one of out best selling devices. It combines an indoor monitoring station with an outdoor instrument and an iPhone or iPad App to give you complete weather information. It includes sensors for indoor and outdoor temperature, humidity, barometric pressure, rainfall and wind speed. It is simple to install and works by Bluetooth between the outdoor and indoor sensor and Wi-Fi to your iPhone. This is normally $159.99 but for this week for Kibbles & Bytes readers it is “**$25 off at $134.99!**”:http://www.smalldog.com/wag900002092