So we have Siri and I’ve been playing around with Alexa (don’t tell Grace!) but now I have Dora, too. Dora is the computer from Robert Heinlein’s Time Enough for Love, The Number of the Beast, The Cat Who Walks Through Walls which were some of my favorite Sci-Fi as a kid.
I was helping a customer that has pretty bad arthritis and struggled to use the keyboard. I was straightening out her email and getting her off of AOL (something we do often!) and noticed how difficult it was to type a simple email. So, I showed her dictation on the Mac and wow, it was like a light just got switched on. Dictation has come a long way and if your are on Mavericks, Yosemite or El Capitan, Apple’s enhanced dictation works wonderfully.
Dictation will not be a satisfying experience for you if you have a lot of noise in the room, i.e. other people talking, music, etc, but if you are working alone in a relatively quiet environment it can be a great tool not only for dictating that email but you can also use spoken commands to direct your Mac to take action.
Setting up Enhanced Dictation
* Open System Preferences, then click on Dictation & Speech. Turn on Dictation and set up your options.
* Click *Use Enhanced Dictation*. This will download a 1.2GB file so that you can dictate without internet connection.
* Choose your language and dialect. Some languages, such as English, have multiple dialects.
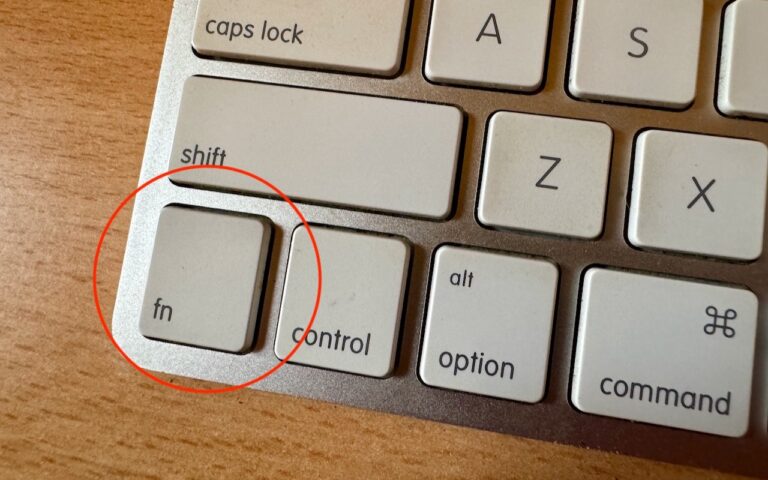
* Choose the keyboard shortcut you will use to signal that you’re ready to start dictating. The default is pressing the function Fn key twice, which I find convenient but you can customize it.
* Choose your preferred microphone from the pop-up menu below the microphone icon. Normally, you use the internal microphone but if you are using a headset or external microphone you can choose that.
Using Dictation
* Go to a document or other text field and place the insertion point where you want your dictated text to appear.
* Press the keyboard shortcut for starting dictation. The default shortcut is Fn Fn (press the Fn key twice). Or choose Edit > Start Dictation. When your Mac is listening, it displays a microphone with an input meter that rises and falls as you speak.
* Speak the words that you want your Mac to type. Use dictation commands to add punctuation, formatting, and more.
* To stop dictating, click Done below the microphone icon, or press Fn, or switch to another window.
The more you use Dictation, the better it understands you. Dictation learns the characteristics of your voice and adapts to your accent.
I will go into some of the more enhanced features like Dictation Commands in next week’s Kibbles & Bytes but I can tell Dora to Open an App, select text, move up or down and much more. I think you will like dictation on the Mac, give it a try!