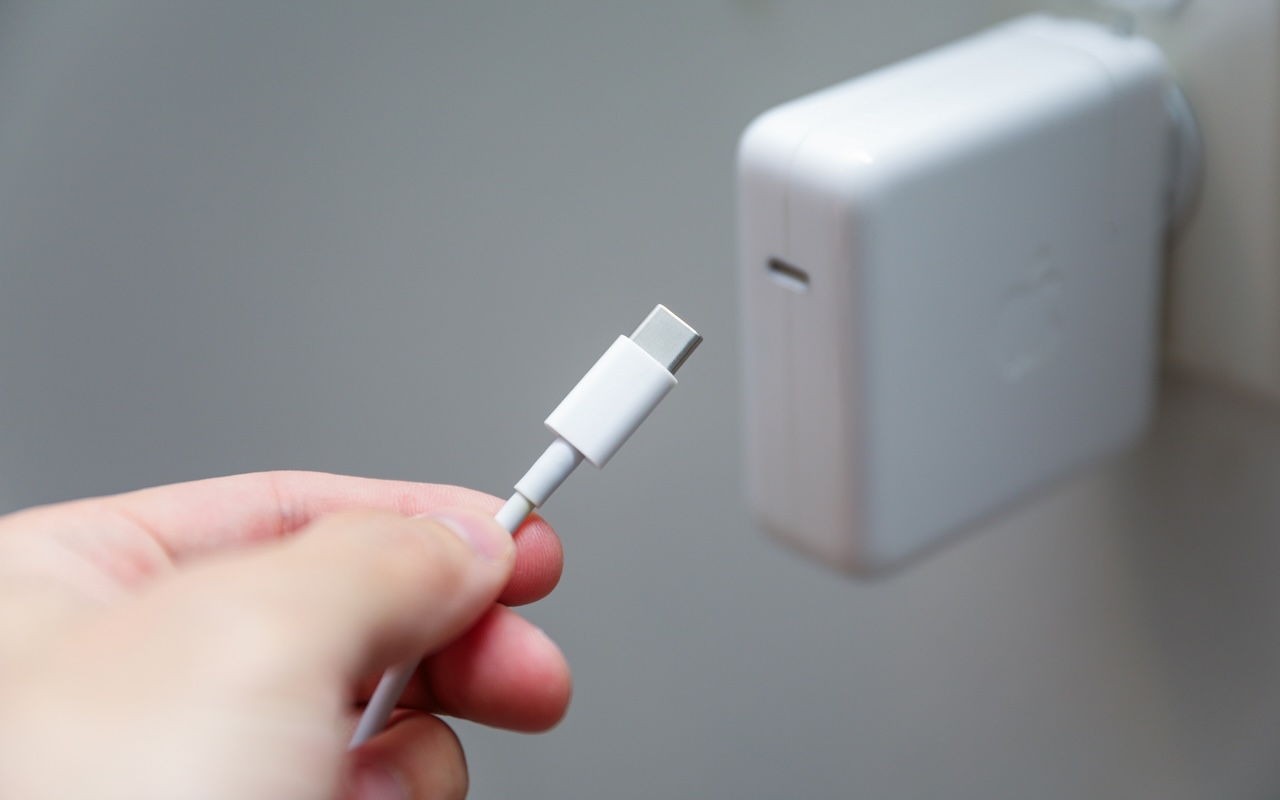
Charge Your MacBook with the Right Power Adapter

If you lose or break the power adapter that came with your MacBook Air or MacBook Pro, make sure to replace it with a charger that meets or exceeds the machine’s required wattage. A charger with too low a wattage may result in little or no charging (or even battery drain while working), and it certainly won’t enable fast charging. You can check the adapter’s wattage by reading the fine print on the charger itself, or by opening the System Information app (in the Applications/Utilities folder) and checking the AC Charger section in the Power screen. It’s safe to use an adapter with a higher wattage than required, but we don’t recommend going below the wattages of Apple’s included adapters:

  • 13-inch MacBook Air: 30 or 35 watts standard, 67 watts for fast charging
  • 15-inch MacBook Air: 35 watts standard, 70 watts for fast charging
  • 14-inch MacBook Pro: 67 or 70 watts standard, or 96 watts for the Pro and Max chips, 96 watts for fast charging
  • 16-inch MacBook Pro: 140 watts for both standard and fast charging

(Featured image by iStock.com/Isaac Lee)


Social Media: Lost your MacBook charger? Don’t grab just any USB power adapter—using one that’s too weak can result in no charging, glacial charging, or battery drain while you work. Here’s the minimum wattage you need for each MacBook model.

Similar Posts

  • My visiting family went out dolphin watching today taking advantage of the sunny day. The dogs and I are hanging out at my home office and I am listening to some Eagles music as I work.

    Thank you for reading this issue of Kibbles & Bytes!

    _Don, Dean, Emily & Scott_

  • Hey Dora, Follow Orders!

    Last week we talked about how to activate and use dictation to write emails and documents but there is a lot more that you can do. I keep thinking about Scotty from Star Trek when he went back in time and was “**confronted with a Mac Plus**”:https://youtu.be/LkqiDu1BQXY?t=1m8s. He picked up the mouse as natural as can be and said “computer…”. That time is coming and Dictation Commands are already built into your operating system.

    Once you have dictation activated you can activate dictation commands by going to the Accessibility system preference.

    * Choose Accessibility from System Preferences.

    * Choose Dictation from the list on the left side of the Accessibility pane.

    * Click the Dictation Commands button. You can see a list of available commands in the Dictation Commands sheet.

    * A starting set of commands are enabled by default. Additional speakable items like “Open document” and “Click item” are available by enabling advanced commands using these next steps:

    * Select (check) the option to “Enable advanced commands” in the Dictation Commands sheet that appears.

    * Click Done.

    p{text-align: center;}. !http://blog.smalldog.com/images/4710.png!

    After you have enabled advanced commands, you can also create your own commands by clicking the Add Command (+) button. This lets you link a spoken phrase to an app, a menu item, a keyboard shortcut, or an Automator workflow.

    You have enabled Dictation Commands and now you can speak any of the items in this list to perform the related action. Press the Fn key twice, then say a command to make it happen, such as “Search Spotlight for the Cubs score” or “select sentence” or “new document”. Give it a try and pretty soon you will be just like Scotty and the Mac Plus.

    As a shortcut, you can speak the command “Show commands” to see a list of the commands you can say.