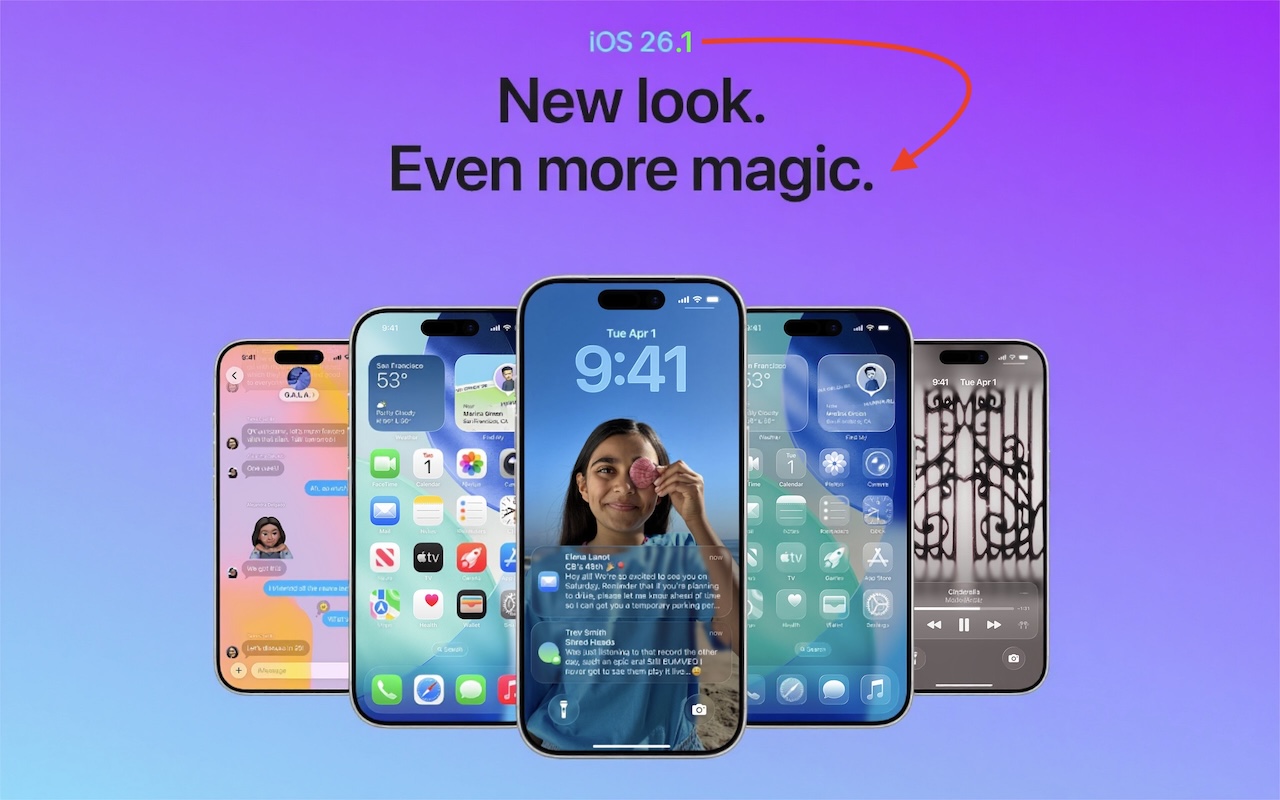
New Features in iOS 26.1

The first feature update to iOS 26 is now available—go to Settings > General > Software Update to install iOS 26.1. It doesn’t introduce any game-changers, but there are a few new options and tweaks worth knowing about.

Tinted Option for Liquid Glass

For many people, Liquid Glass’s aggressive transparency can make some interface elements, especially notifications, difficult to read. Until now, your best bet for improving readability was to turn on Settings > Accessibility > Display & Text Size > Reduce Transparency. In iOS 26.1, Apple bowed to user feedback and added a new Tinted view in Settings > Display & Brightness > Liquid Glass, which adds a subtle tint and increases the opacity of many Liquid Glass interface elements. In the screenshot below, the left image uses the default Liquid Glass Clear view, the middle one uses the Tinted view, and the right one uses Clear with Reduce Transparency. You can decide which you like best.

Disable Lock Screen Camera Swipe

For many years, a fast way to get to the Camera app has been to swipe left on the Lock Screen. With new iPhones featuring the Camera Control button for quick access to the Camera app, Apple has given us the option to disable the Lock Screen left swipe. If you find yourself accidentally opening the Camera app from the Lock Screen, you can now prevent that from happening by turning off Settings > Camera > Lock Screen Swipe to Open Camera.

Background Security Improvements

Several years ago, Apple introduced Rapid Security Responses, focused security updates that aimed to reduce update hesitancy with small downloads, automatic installation, and easy reversal. For unknown reasons, Apple used them only a couple of times before reverting to traditional operating system updates. Now, Rapid Security Responses seem to have returned under a new name: Background Security Improvements. They’re enabled by default in Settings > Privacy & Security > Background Security Improvements > Automatically Install. If you prefer to approve these updates in advance, you can turn that off. (A similar setting is available for macOS 26.1.)

Slide to Stop Alarms and Timers

In iOS 26, Apple increased the size of the buttons that appear when alarms or timers go off, but the large Stop button was easy to hit when you meant to tap Snooze (for alarms) or Repeat (for timers). Apple made that mistake much less likely in iOS 26.1 by requiring you to slide the on‑screen control to stop the alarm or timer.

Swipe Between Songs in Music

Sure, you could just tap a song in the album or playlist you’re viewing, but iOS 26.1 adds a subtle way to move to the next or previous track: swipe left (next) or right (previous) on the MiniPlayer at the bottom of the screen.

More Languages for Live Translation

iOS 26 introduced Live Translation with the AirPods 4 with Active Noise Cancellation, AirPods Pro 2, and AirPods Pro 3. Initially, it supported English (US and UK), French, German, Portuguese (Brazil), and Spanish (Spain). In iOS 26.1, Apple added Chinese (Mandarin, simplified and traditional), Italian, Japanese, and Korean. To avoid delays in getting new languages when you are out and about, download the languages you expect to need ahead of time, when you have a fast Internet connection. Go to Settings > Bluetooth and tap the ⓘ next to your AirPods. Scroll to and tap Languages, then select the desired language. For actual use, open the Translate app, tap Live, and select the two languages you want to translate between.

There are a few other tweaks that most people won’t notice, such as support for the new AutoMix transitions between songs in Music when playing over AirPlay, better FaceTime audio quality in low-bandwidth conditions, manual logging of workouts in the Fitness app, and improvements when recording audio with external USB mics.

If you’re already running iOS 26, we recommend updating to iOS 26.1—the changes (and numerous security fixes) are worthwhile. If you haven’t upgraded from iOS 18 yet, now’s a fine time to make the jump.

(Featured image based on an original by Apple)


Social Media: Struggling with Liquid Glass transparency or accidental camera launches? iOS 26.1 addresses both and adds a safer slide‑to‑stop alarm control, swiping to switch songs in Music, Background Security Improvements, and more Live Translation languages.

Similar Posts

  • When Should You Subscribe to AppleCare?

    With Apple’s recent launch of AppleCare One, which covers multiple devices, and updates to its traditional AppleCare+ plans, you might be wondering what…

  • Hey Dora…

    So we have Siri and I’ve been playing around with Alexa (don’t tell Grace!) but now I have Dora, too. Dora is the computer from Robert Heinlein’s Time Enough for Love, The Number of the Beast, The Cat Who Walks Through Walls which were some of my favorite Sci-Fi as a kid.

    I was helping a customer that has pretty bad arthritis and struggled to use the keyboard. I was straightening out her email and getting her off of AOL (something we do often!) and noticed how difficult it was to type a simple email. So, I showed her dictation on the Mac and wow, it was like a light just got switched on. Dictation has come a long way and if your are on Mavericks, Yosemite or El Capitan, Apple’s enhanced dictation works wonderfully.

    Dictation will not be a satisfying experience for you if you have a lot of noise in the room, i.e. other people talking, music, etc, but if you are working alone in a relatively quiet environment it can be a great tool not only for dictating that email but you can also use spoken commands to direct your Mac to take action.

    Setting up Enhanced Dictation

    * Open System Preferences, then click on Dictation & Speech. Turn on Dictation and set up your options.

    * Click *Use Enhanced Dictation*. This will download a 1.2GB file so that you can dictate without internet connection.

    * Choose your language and dialect. Some languages, such as English, have multiple dialects.

    * Choose the keyboard shortcut you will use to signal that you’re ready to start dictating. The default is pressing the function Fn key twice, which I find convenient but you can customize it.

    * Choose your preferred microphone from the pop-up menu below the microphone icon. Normally, you use the internal microphone but if you are using a headset or external microphone you can choose that.

    Using Dictation

    * Go to a document or other text field and place the insertion point where you want your dictated text to appear.

    * Press the keyboard shortcut for starting dictation. The default shortcut is Fn Fn (press the Fn key twice). Or choose Edit > Start Dictation. When your Mac is listening, it displays a microphone with an input meter that rises and falls as you speak.

    * Speak the words that you want your Mac to type. Use dictation commands to add punctuation, formatting, and more.

    * To stop dictating, click Done below the microphone icon, or press Fn, or switch to another window.

    The more you use Dictation, the better it understands you. Dictation learns the characteristics of your voice and adapts to your accent.

    I will go into some of the more enhanced features like Dictation Commands in next week’s Kibbles & Bytes but I can tell Dora to Open an App, select text, move up or down and much more. I think you will like dictation on the Mac, give it a try!

  • A Swinging Hot Spot in Paradise

    You are visiting Key West, accompanied by your trusty iPhone and MacBook Air. Suddenly there’s an emergency at work, and you need to get online with your Mac. You can pick up a cell signal with the iPhone, but there’s no Wi-Fi that isn’t locked up. Well, my first thought might be “oh well, I’m on vacation!” but you are dedicated and need to be online.

    Don’t worry! You can use your iPhone’s cellular data plan to create a personal Wi-Fi hotspot that lets your Mac access the Internet through your iPhone. Also called “tethering,” it’s fast, easy, and can be a life-saver when you just have to get online with a Mac or your Wi-Fi-only iPad. It supports up to 5 users, too, which means you can get your team online, too!

    Before we explain how to do set up a personal hotspot, note that most but not all cellular carriers allow tethering on existing plans. For some, you might have to pay more for tethering. Keep in mind that any data consumed by your Mac while tethered will count against your data allowance and may generate overage fees. Carriers with “unlimited” data, like T-Mobile and Sprint, generally throttle your bandwidth to slower speeds if you use too much data.

    Along those lines, if you use a file sharing service like Dropbox or Google Drive, or an Internet backup service like CrashPlan or Backblaze, turn them off before connecting. Particularly if they haven’t connected in a while, those services can transfer a lot of data quickly, which could result in a hefty overage charge or awkward data throttling for the rest of the month.

    With those warnings out of the way, follow these steps in iOS 9 to turn on Personal Hotspot:

    1. On your iPhone, if you’ve never enabled the feature before, go to Settings > Cellular > Personal Hotspot. Once you’ve turned Personal Hotspot on once, it moves up a level, so you can access it from Settings > Personal Hotspot.
    1. Tap on Wi-Fi Password and enter a password that’s at least 8 characters long and easy to type. It doesn’t need to be super secure because you can keep Personal Hotspot turned off unless you’re using it. But you do want a password so random people nearby can’t connect and use your data.
    1. Once you’ve entered a password, slide the Personal Hotspot switch.

    That’s it! The Personal Hotspot screen provides basic instructions for connecting to the iPhone via Wi-Fi, Bluetooth, and USB. Stick with Wi-Fi, since it’s the easiest and most reliable in most cases.

    • To connect to your new Personal Hot Spot on your Mac, click the Wi-Fi icon in the menu bar and choose your iPhone’s name.
    • On your iPad, go to Settings > Wi-Fi and choose your iPhone.
    • Enter your password when prompted, making sure to select Remember This Network. That way, you won’t even have to enter your password the next time.
    • The Mac or iPad then connects to your iPhone, showing a hotspot icon instead of the usual wave icon for the Wi-Fi menu.

    Could it get any simpler? When you’re done, the safest thing to do, to ensure you don’t accidentally end up using too much of your data allowance, is to turn off the Personal Hotspot switch in Settings > Personal Hotspot. Your Mac or iPad will automatically disconnect.

    Actually, it CAN be simpler! Your Mac can automatically use the personal hotspot on your iPhone to connect to the Internet when they’re within range of each other.

    Use Instant Hotspot on your iPhone (with iOS 8 or later) to provide internet access to your Mac computers and other iOS devices (with OS X Yosemite or iOS 8) that are in range and signed into iCloud using the same Apple ID. Instant Hotspot uses your iPhone — you don’t have to enter a password or even turn on Personal Hotspot.

    Make sure your iOS device and your Mac are signed into iCloud with the same Apple ID.

    On your Mac, click the Wi-Fi status icon in the menu bar, then choose your iPhone or iPad.

    After you connect to the iPhone or iPad Personal Hotspot, you can check the cellular signal strength and the battery status of the iPhone or iPad in the Wi-Fi status menu.

    When you’re not using using the hotspot, your devices automatically disconnect to save battery life.

    One more big advantage of Personal Hot Spots. When you are shopping for that new iPad, perhaps you don’t need the cellular model if you nearly always have your iPhone handy. That’s what I do. If I need internet access on my Wi-Fi iPad, I simply connect to my Hot Spot! Saves me the added cost of a cellular-enabled iPad and the monthly fees from the cell carrier!

  • 20 Years of Service.

    !http://blog.smalldog.com/images/4613.jpg!

    Small Dog Electronics has been your local Apple Specialist for 20 years! Not only do we sell the latest Apple products and have some of the most knowledgeable staff around, we offer some of the best *one on one training* and *consulting* services around. Should Santa put something under the tree this year that your just not sure about how you can use it, do not worry, we have got your back and it doesn’t matter where the product came from. Stop into any of our retail stores or give us a call and we will get you getting the most out of your Apple products.

    “!http://blog.smalldog.com/images/4612.jpg!”:http://www.smalldog.com/macthehalls

    Not only do we have great services to help you get the most out of your Apple product, but we have some great deals going on in all of our retail stores *December 9th through the 15th*! Visit any of our retail stores in Rutland, Waitsfield or South Burlington or visit “www.smalldog.com/macthehalls”:http://www.smalldog.com/macthehalls for these deals or more information about what Small Dog services might benefit you.