What Can You Do With the iPhone’s Action Button? Nearly Anything!
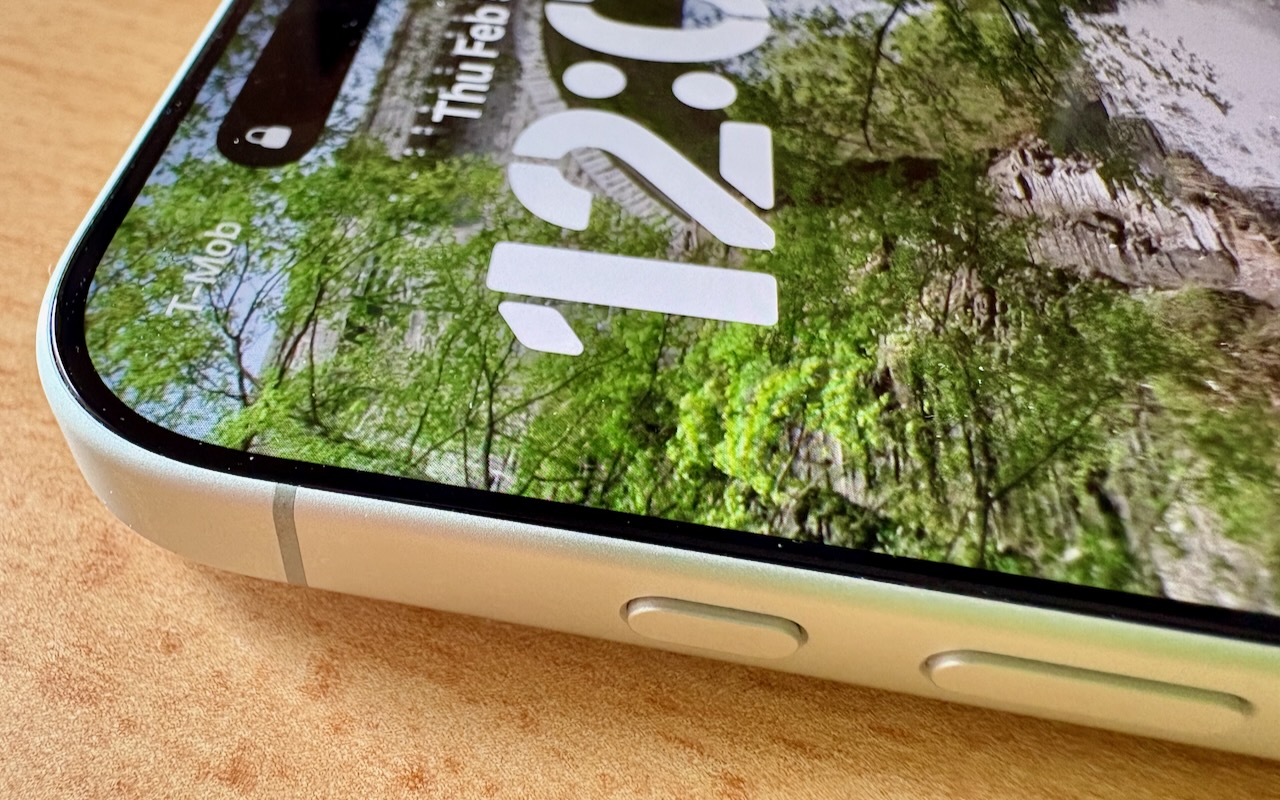
Starting with the iPhone 15 Pro and Pro Max, Apple replaced the Ring/Silent switch on the top-left edge of the iPhone with the Action button, making the new button standard across the iPhone 16 and iPhone 17 lineups in subsequent years. The Action button is a dedicated hardware button you can configure to perform one of many different tasks. Although Apple prompts everyone setting up a new iPhone to configure the Action button, our experience is that many people haven’t integrated it into their everyday usage.

Taking advantage of the Action button isn’t hard, but there are obstacles. The Ring/Silent switch had only one function, whereas the Action button offers so many options that it’s easy to fall prey to decision paralysis. Also, because the Action button is configurable, it behaves differently even if you leave it set to Silent Mode. The Ring/Silent switch was a physical switch that also showed its state with an orange indicator. With the Action button, you can’t tell at a glance if Silent Mode is on, and activating it requires a relatively long press-and-hold. Finally, the Action button’s ultimate power lies in its Controls and Shortcuts options, but many users are unaware of the wide-ranging possibilities these unlock.
So let’s look at how to make the most of the Action button. To configure the Action button, go to Settings > Action Button and swipe through the choices. The choice on screen when you exit Settings will be active. Although there are no bad choices here, many of the options Apple provides can be activated just as easily through Control Center or Siri, so you might not want to dedicate the Action button to them.
- Silent Mode: Toggle call and alert sounds on and off. This is the default setting, but unless you regularly need to toggle the ringer, it’s not worth dedicating the Action button to such a seldom-used option. You can toggle Silent Mode in Control Center just as easily.
- Focus: Activate or switch Focus modes such as Do Not Disturb. We recommend using Focus sparingly because it can block desired notifications, but if you’re a fan, the Action button might be a good way to switch between them. Focus modes are also easy to select in Control Center and turn on with “Siri, turn on Do Not Disturb.”
- Camera: Launch the Camera app. If your iPhone has the Camera Control (as do all Action button-equipped models except the iPhone 15 Pro/Pro Max and iPhone 16e), the Camera Control is the best way to open the Camera, but the Action button might still be helpful for opening the Camera app to a specific mode: Photo, Selfie, Video, Portrait, or Portrait Selfie.
- Visual Intelligence: Launch Apple’s AI-powered object recognition feature. Again, pressing and holding the Camera Control (if available) is a better way to access Visual Intelligence.
- Flashlight: Turn the flashlight on or off. This may be a good choice if you use the flashlight regularly, but if so, you’re probably already accustomed to tapping its icon on the iPhone’s Lock Screen. If your hands are too full, try “Siri, turn on the flashlight.”
- Voice Memo: Start recording audio in the Voice Memos app. If you use Voice Memos heavily, you may like this use of the Action button. Alternatively, just say, “Siri, record a voice memo.”
- Recognize Music: Use Shazam to identify music that’s playing nearby or on your iPhone. Another way to invoke Shazam quickly is to ask, “Siri, what’s playing?”
- Translate: Starts listening to translate between the default languages you set up in the Translate app. This use of the Action button is a great shortcut if you’re traveling in another country and need quick translations, but most people don’t need it every day.
- Magnifier: Launch the Magnifier app to make it easier to see tiny text and small objects. Those with low vision may particularly appreciate this use of the Action button, but the Magnifier app is also easily accessed from a Control Center button or by saying, “Siri, open Magnifier.”
- Controls: Invoke any Control Center control. Here’s where things get interesting! Starting with iOS 18, iPhone apps can create controls in Control Center. With the Controls option, you can choose any available control, so you could have the Action button start a ChatGPT conversation, add a task to TickTick, create a new event in BusyCal, or myriad other options. We strongly encourage you to scroll through the available controls to see if any catch your interest.

- Shortcut: Activate any custom Shortcut for personalized actions. The previous Controls choice is brilliant, but what if you want even more options? With Shortcuts, you can create custom actions that can even leverage multiple apps to do exactly what you want. For instance, you could create a shortcut that takes a photo of an expense receipt and sends it to a specific email address, all triggered by a long press on the Action button. The sky is the limit here.

- Accessibility: Quick access to accessibility features like VoiceOver, Zoom, Speak Screen, Apple Watch Mirroring, Live Captions, Conversation Boost, and more. Don’t assume these options are only for people with disabilities; many have broader utility.
- No Action: The final option is No Action, which is useful only if you accidentally press the Action button frequently and don’t want it to do anything.
So there you have it! If you’re not currently using the Action button, take a spin through the available options to see which can make a difference in your everyday iPhone experience.
(Featured image by Adam Engst)
Social Media: Your iPhone’s Action button can do much more than toggle Silent Mode. Try it for quick translations or voice memos—or explore the many options in Controls and Shortcuts to trigger nearly any action with a long press.