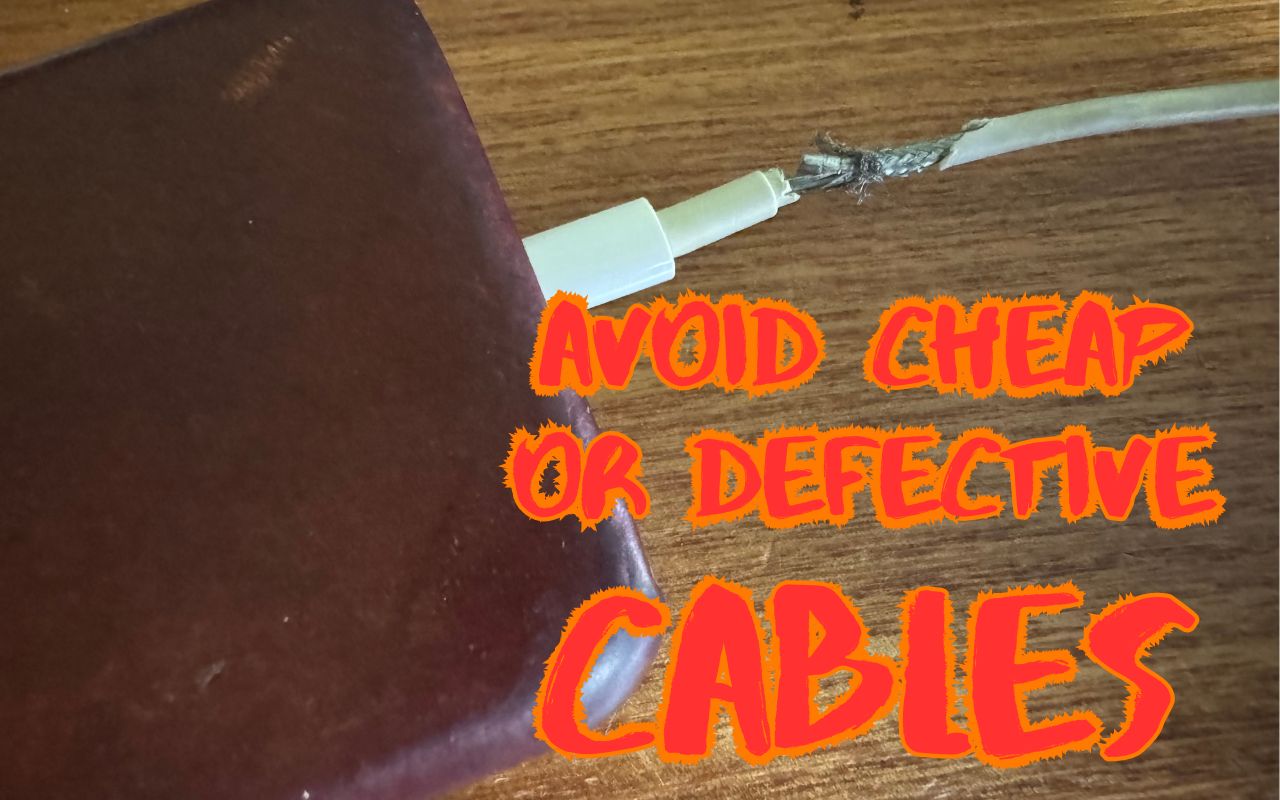
Use High-Quality Cables for Optimal Performance and Safety
Apple’s prices for Thunderbolt, USB-C, and Lightning cables often seem unnecessarily high. $69 for a Thunderbolt 4 cable or $19 for a simple USB-C to Lightning cable? Unfortunately, when it comes to cables, you often get what you pay for. Happily, other reputable hardware manufacturers sell quality cables for less than Apple. When possible, get cables with braided covers, which tend to last longer because the braided design makes them less prone to kinks, less likely to tangle, and more resistant to abrasion.
Stay away from bargain-priced cables from no-name Chinese manufacturers, and if you see a supposedly genuine Apple cable selling for a too-good-to-be-true price, consider the possibility that it’s counterfeit. Apple created a detailed page that explains how to identify counterfeit or uncertified Lightning accessories.

Why spend more on cables? Inexpensive cables are likely to wear out sooner, but the main concern is that many modern cables carry power along with data. A short circuit could result in hardware damage and, in extreme cases, could generate sparks, smoke, or even fire. While fires are extremely unusual, it’s easy to find reports online.
When it comes to damaging hardware, USB-C is much less of a problem than a decade ago, thanks to Google engineer Benson Leung. After a bad USB-C cable fried his Chromebook, he embarked on a one-man crusade to identify good and bad USB-C cables. Due in part to his efforts, Amazon started prohibiting listings of USB-C cables and adapters that weren’t compliant with the USB-C specs. You may still encounter bad cables Amazon hasn’t identified or dodgy cables sold through other retailers, but the danger is lower than it used to be, particularly with cables from name brands.
Although Apple has now standardized on USB-C cables for charging, Lightning cables remain common for older iPhones and iPads. Both are readily available in gas stations and drugstores, but you’ll do best if you stick with cables from brand-name companies. They cost more, but do you trust a cable sold next to tabloids and Twinkies? It will probably work in a pinch if you need to fill in for a lost or forgotten cable on a trip, but don’t rely on it afterward.
Even the best cables will fail if you mistreat them. Follow this advice to ensure a long life for heavily used cables:
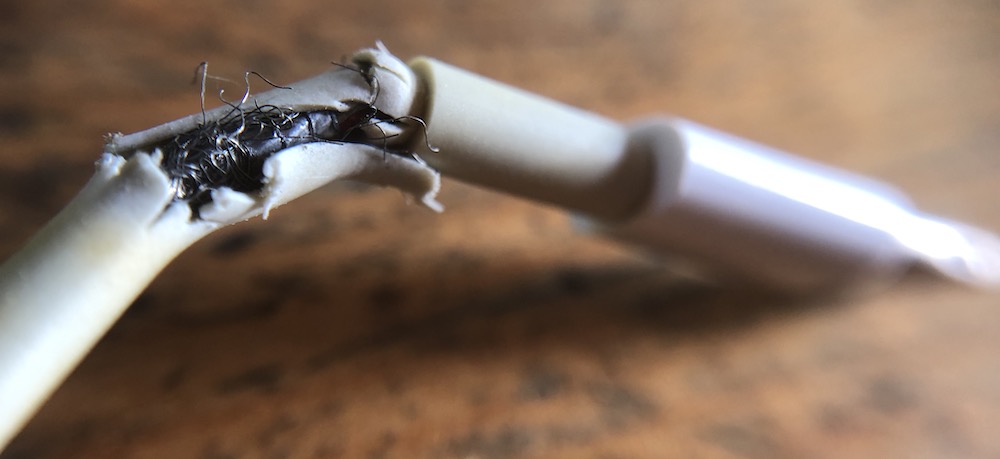
- Don’t create sharp bends in the cable, especially near the connector. Sharp bends can eventually break the insulation and reveal the wires inside. Even before that, if the wires get too close, they can heat up and melt the insulation.
- When unplugging your device, pull from the plug instead of farther down on the cord to avoid stress on the connection point.

- When coiling your cables, avoid wrapping them tightly around something that’s not round. A tight wrap can cause kinks that degrade the wires inside.
- Don’t put heavy objects on cables or sandwich them between a desk and the wall. Anything that compresses the cable can cause damage.
- iPhones are fairly water resistant, but try to keep the charging port and cable plug clean and away from liquids. Pocket crud or a droplet in the wrong place could cause a short circuit. Because of their metal jackets, USB-C cables are less susceptible than Lightning to such problems, but it’s still worth being careful.
- If a cable’s insulation ever breaks so you can see the wires inside, discard it immediately. It’s always worth maintaining a collection of a few cables of every type you use so you can replace damaged cables right away.
In the end, the advice is simple. Spend a little more on quality products from reputable manufacturers so you don’t have to worry about a $3 non-compliant USB-C cable damaging your pricey iPhone or worse. What’s worse? Your house burning down.
(Featured image by Adam Engst)
Social Media: It’s tempting to buy cheap USB-C and Lightning cables, but non-compliant, counterfeit, and defective cables can damage your hardware or even cause fires. Read on for more about keeping your cables working in the long run.