How to Sync Your Apple Devices with a Windows Computer
|
More results...
|

It’s easy to assume your backup app—whether it’s Time Machine, Carbon Copy Cloner, Backblaze, Retrospect, or something else—is quietly doing its job. But…

https://smalldog.biz/2025/09/05/keep-sensitive-data-private-by-disabling-ai-training-options/

Digital cameras have been around long enough that people have stopped making snarky comments about how hard it is to find anything in…

Take a moment and look behind your Mac. Do you see a tangle of cables? The main downside of a mess of cables…
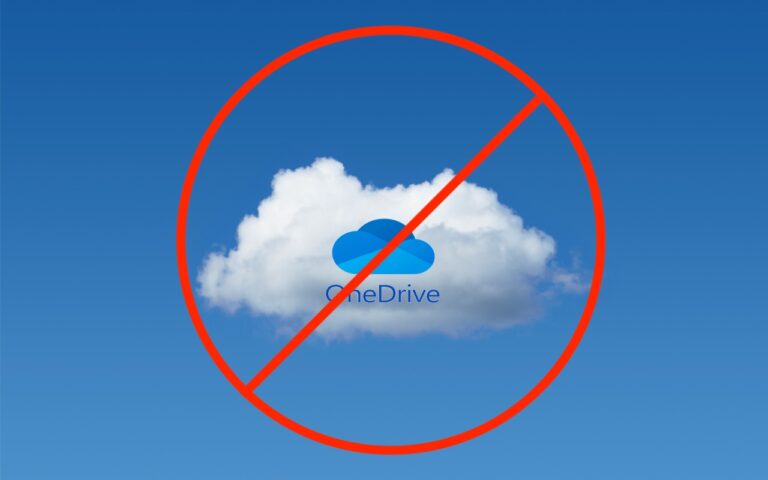
By default, Microsoft Office apps—Word, Excel, and PowerPoint—try to save files on Microsoft OneDrive as a way of promoting the company’s cloud storage….

Although Apple’s products and services generally live up to Steve Jobs’s phrase “it just works,” problems do occur, opening the door to scams…