Add Weather to Your Mac’s Menu Bar with This Sequoia Tip

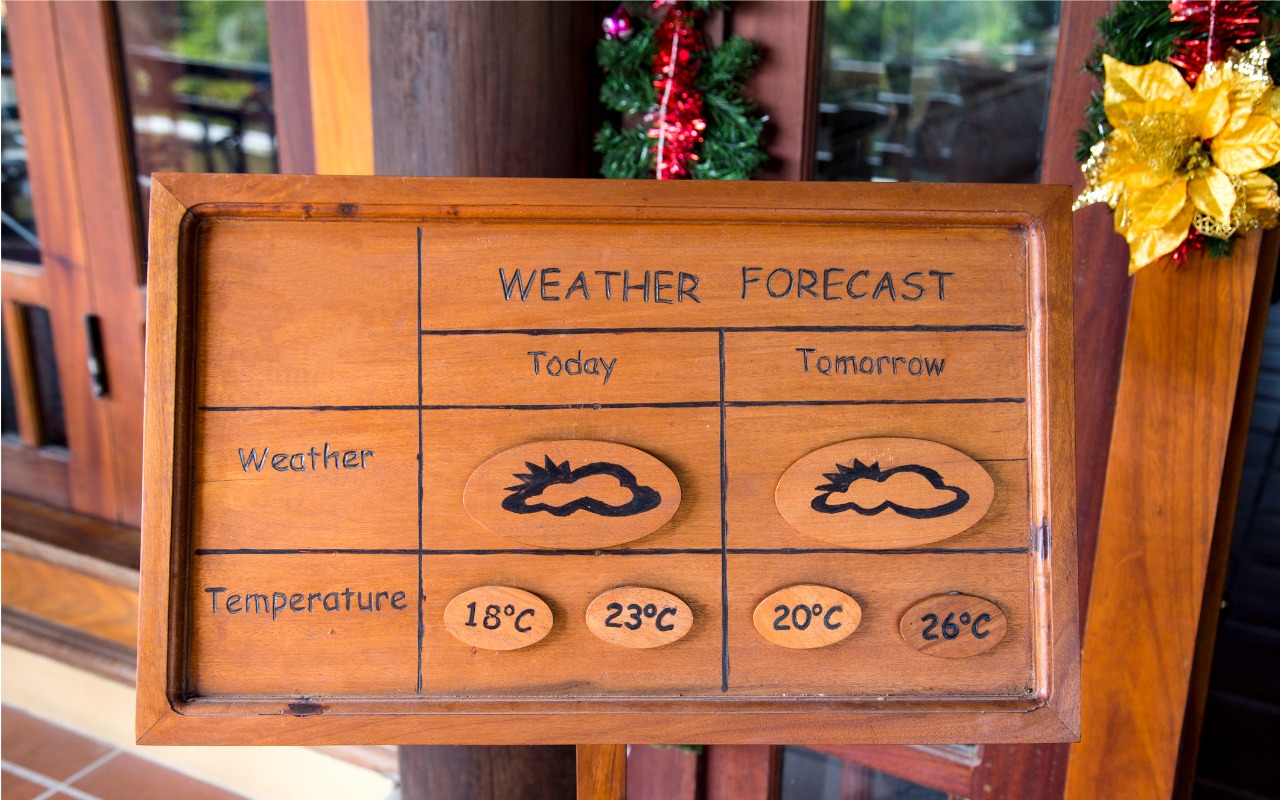
In macOS 15.2 Sequoia, Apple added the option to display the current weather conditions in the menu bar but hid the switch deep in the bowels of System Settings. To turn this option on, open System Settings > Control Center, scroll to the bottom, and in the Menu Bar Only section, for Weather, choose Show in Menu Bar. A new item with the current conditions at your location will appear in the menu bar; click it to see the forecast and access other locations in Apple’s Weather app.

(Featured image by iStock.com/trangiap)


Social Media: In macOS 15.2 Sequoia, you can display the current weather conditions in your Mac’s menu bar. Here’s how to enable that feature.

Similar Posts

  • Macbooks and Macbook Air Upgraded

    Apple announced some changes to the 12-inch MacBook and 13-inch MacBook Air this week. Let’s talk about the MacBook Air first. Apple discontinued the 13-inch MacBook Air models that had 4GB of RAM and made them sport 8GB. There were no other changes to this model but the additional RAM comes at no additional cost as Apple doubled the RAM but kept the price the same at $999 for the 128GB SSD unit and $1299 for the 256GB SSD.

    With just this minor update to the MacBook Air we can speculate that perhaps this unit is on its way out within the next year. The MacBook Air does not have the Retina display nor does it support the latest in Intel mobile processors. On the other hand, it is Apple’s best selling laptop.

    The changes to the MacBook were more significant. They added a Rose Gold (er…pink) color which might actually be a nice option for some. More importantly, Apple went to the new sixth-generation dual-core Intel Core M processors which run at clock speeds up to 1.3 gigahertz, with Turbo Boost up to 3.1 gigahertz. The revamped notebooks also feature faster 1866 megahertz memory.

    This new processor yields increases in performance from 15-20% in initial testing. With the Intel HD Graphics 515, the new MacBook has about 25 percent faster graphics performance. Speed has also been enhance with new, faster PCIe-based flash storage.

    The lower power requirements and a slightly larger battery has also improved battery life, with the Apple claiming the new MacBook offers up to 10 hours of wireless surfing and up to 11 hours of movie watching.

    While some were expecting additional ports or an improved FaceTime camera, these features did not make the cut.

    We should have all the models in stock next week as well as some great deals on the newly discontinued models.

  • Backups: Trust but Verify

    It’s easy to assume your backup app—whether it’s Time Machine, Carbon Copy Cloner, Backblaze, Retrospect, or something else—is quietly doing its job. But…

  • A Swinging Hot Spot in Paradise

    You are visiting Key West, accompanied by your trusty iPhone and MacBook Air. Suddenly there’s an emergency at work, and you need to get online with your Mac. You can pick up a cell signal with the iPhone, but there’s no Wi-Fi that isn’t locked up. Well, my first thought might be “oh well, I’m on vacation!” but you are dedicated and need to be online.

    Don’t worry! You can use your iPhone’s cellular data plan to create a personal Wi-Fi hotspot that lets your Mac access the Internet through your iPhone. Also called “tethering,” it’s fast, easy, and can be a life-saver when you just have to get online with a Mac or your Wi-Fi-only iPad. It supports up to 5 users, too, which means you can get your team online, too!

    Before we explain how to do set up a personal hotspot, note that most but not all cellular carriers allow tethering on existing plans. For some, you might have to pay more for tethering. Keep in mind that any data consumed by your Mac while tethered will count against your data allowance and may generate overage fees. Carriers with “unlimited” data, like T-Mobile and Sprint, generally throttle your bandwidth to slower speeds if you use too much data.

    Along those lines, if you use a file sharing service like Dropbox or Google Drive, or an Internet backup service like CrashPlan or Backblaze, turn them off before connecting. Particularly if they haven’t connected in a while, those services can transfer a lot of data quickly, which could result in a hefty overage charge or awkward data throttling for the rest of the month.

    With those warnings out of the way, follow these steps in iOS 9 to turn on Personal Hotspot:

    1. On your iPhone, if you’ve never enabled the feature before, go to Settings > Cellular > Personal Hotspot. Once you’ve turned Personal Hotspot on once, it moves up a level, so you can access it from Settings > Personal Hotspot.
    1. Tap on Wi-Fi Password and enter a password that’s at least 8 characters long and easy to type. It doesn’t need to be super secure because you can keep Personal Hotspot turned off unless you’re using it. But you do want a password so random people nearby can’t connect and use your data.
    1. Once you’ve entered a password, slide the Personal Hotspot switch.

    That’s it! The Personal Hotspot screen provides basic instructions for connecting to the iPhone via Wi-Fi, Bluetooth, and USB. Stick with Wi-Fi, since it’s the easiest and most reliable in most cases.

    • To connect to your new Personal Hot Spot on your Mac, click the Wi-Fi icon in the menu bar and choose your iPhone’s name.
    • On your iPad, go to Settings > Wi-Fi and choose your iPhone.
    • Enter your password when prompted, making sure to select Remember This Network. That way, you won’t even have to enter your password the next time.
    • The Mac or iPad then connects to your iPhone, showing a hotspot icon instead of the usual wave icon for the Wi-Fi menu.

    Could it get any simpler? When you’re done, the safest thing to do, to ensure you don’t accidentally end up using too much of your data allowance, is to turn off the Personal Hotspot switch in Settings > Personal Hotspot. Your Mac or iPad will automatically disconnect.

    Actually, it CAN be simpler! Your Mac can automatically use the personal hotspot on your iPhone to connect to the Internet when they’re within range of each other.

    Use Instant Hotspot on your iPhone (with iOS 8 or later) to provide internet access to your Mac computers and other iOS devices (with OS X Yosemite or iOS 8) that are in range and signed into iCloud using the same Apple ID. Instant Hotspot uses your iPhone — you don’t have to enter a password or even turn on Personal Hotspot.

    Make sure your iOS device and your Mac are signed into iCloud with the same Apple ID.

    On your Mac, click the Wi-Fi status icon in the menu bar, then choose your iPhone or iPad.

    After you connect to the iPhone or iPad Personal Hotspot, you can check the cellular signal strength and the battery status of the iPhone or iPad in the Wi-Fi status menu.

    When you’re not using using the hotspot, your devices automatically disconnect to save battery life.

    One more big advantage of Personal Hot Spots. When you are shopping for that new iPad, perhaps you don’t need the cellular model if you nearly always have your iPhone handy. That’s what I do. If I need internet access on my Wi-Fi iPad, I simply connect to my Hot Spot! Saves me the added cost of a cellular-enabled iPad and the monthly fees from the cell carrier!

  • _Dear Friends,_

    Don’s making the voyage home this week from Key West back to the Green Mountains. He’s in for a bit of a shock when he gets back. Mother Nature seems to have gotten a bit confused this week. I mentioned in the fall that I was taking a new stance on winter and was going to embrace it this year and I truly did my best though we didn’t see much snow. But when we get a snow in late April, I choose to just ignore it. I didn’t bother to shovel off my deck and I left the hose to water my horses just thrown on the ground. In the end both these decisions only made my life harder. I had to lug water buckets for my horses as my hose was not only frozen to the ground, but frozen itself because I didn’t take the time to drain the water out of it. All the slush and snow I ignored on my deck was a sprained ankle waiting to happen and my screen door only opened halfway once everything froze back up. Well, let’s just hope this was finally the last of it and spring will finally show up for real. It always looks a little funny when the trees are starting to bud and there is still snow on the ground.

    The snow this week was a bit of a shock to many of us, and so was the latest financial report from Apple. For the first time in 13 years, Apple’s financial report showed lower than expected sales figures. iPhone sales showed their first decline since their release and iPad sales have been sluggish for several quarters now, but we’ll have more on this later in Kibbles.

    This week’s Kibbles & Bytes exclusive is perfect for the on-the-run Mom on your list or anyone who is on the go and trying to fit time in for themselves between home and the office. This week only, save $40 on this perfect on-the-run bundle. Get the OutDoor Tech Kodiak mini, the BlueAnt Pump Mini headphones and the Belkin Slim-Fit Plus armband for “**$99.97**.”:http://www.smalldog.com/wag900002212 This bundle is perfect for ensuring the mom who does it all can keep can keep her phone going to capture those special moments or squeeze in an important call during her workout.