Why Passkeys Are Better than Passwords (And How to Use Them)
No one likes passwords. Users find managing them annoying, and website managers worry about login credentials being stolen in a data breach. The industry has developed a better solution: passkeys.
Passwords versus Passkeys
Traditional multi-factor authentication involves three methods of authentication, at least two of which are required for protection. They include something you know (a password), something you have (usually a code from an authenticator app or text message), and something you are (biometric authentication). Most systems primarily use the first two, but that leaves room for attack because someone could acquire your password and an authentication code through nefarious means.
Passkeys change the model. Instead of how passwords and codes use words and numbers that can be copied and shared, passkeys are pairs of cryptographic keys: a public key and a private key. Websites keep the public key, and the private key is stored securely within a device or encrypted vault, such as in the Secure Enclave in Apple’s chips or a 1Password vault. Authenticating with a website requires providing the private key that matches the account’s public key, something that Apple users with modern devices can usually initiate with Touch ID or Face ID.
Instead of generating security with something you have and something you know, passkeys rely on possession (do you have the device?) and presence (are you physically in front of the device?). This approach is fundamentally more secure than passwords because the private key can’t be phished, copied, or used remotely, and you must be physically present to unlock your device. Nor can you be tricked into providing a passkey to a malicious website. (Neither approach protects against physical coercion.)
Where Can You Use Passkeys?
In practice, since you use passkeys primarily to sign into websites, passkeys are stored alongside account details in your password manager. For Apple users, Safari (in iOS 16 or macOS 13 Ventura and later) with Apple’s Passwords app provides the most integrated passkey experience. However, most independent password managers, such as 1Password, Bitwarden, and Dashlane, also enable you to store, share, and enter passkeys and can take over for or work alongside Apple’s Passwords. They provide consistent passkey functionality across all major Web browsers, although experiences may vary slightly due to differences in how they handle authentication prompts and platform integration.
You’ll also find robust support in the Password Manager built into Google Chrome and other Chromium-based browsers, including Arc, Brave, Edge, Opera, and Vivaldi. Firefox’s native passkey support is more limited, but third-party password managers work well with Firefox.
Although website support for passkeys was initially slow, an increasing number of sites now support them. That includes the big three of Apple, Google, and Microsoft, of course, as well as Amazon, Best Buy, Discord, eBay, GitHub, Intuit, Netflix, Notion, PayPal, Robinhood, Stripe, Target, Walmart, and WhatsApp.
Setting Up Passkeys
The process of setting up passkeys varies a little by website, but is generally remarkably easy. You may be prompted to create a passkey while signing in, or you may need to navigate to the security options associated with your account.
Google offers both approaches. Setting up a passkey for a Google Account can be as simple as agreeing to do so while logging in. If you’re already logged in, Google’s Passkeys and security keys page lets you make one. Once you click Create a Passkey, you’ll be prompted to save it in either Apple’s Passwords or another password manager like 1Password. That’s it.

Note that if you use both Passwords and another password manager, you can save the passkey in only one, and only that one can use it to sign in later. However, most sites that support passkeys let you add multiple passkeys, so you could save separate passkeys in different password managers.
Signing in with Passkeys
Similarly, using a passkey to sign in is trivially simple. You navigate to the website’s login page, enter your username, choose the passkey sign-in option if necessary, and then authenticate.

Exactly how you authenticate depends on the device you’re using and your password manager. On the Mac, Passwords will ask you to use Touch ID if available (above) or a dialog otherwise (below, left). 1Password, once unlocked for the session, presents a dialog with a Sign In button (below right).

On the iPhone and iPad, an authentication dialog appears at the bottom of the screen asking if you want to sign in with your passkey. Tap Continue and authenticate with Face ID or Touch ID (with a fallback to your passcode if necessary).
Unsurprisingly, Apple makes it particularly easy to sign in to Apple websites like iCloud.com using a passkey. As soon as you navigate to such a site in Safari, the device prompts you to sign in using your current Apple Account username and an implicit passkey.
When using other browsers or another Mac that lacks access to your passkey, selecting the passkey sign-in option displays a QR code that you need to scan with an iPhone or iPad that has the passkey stored on it.
Managing and Sharing Passkeys
As noted, passkeys are stored in accounts managed by a password manager. In fact, passkeys are currently stored alongside passwords in each account. There’s nothing to see or edit, although you can delete passkeys like any other data. Although deleting the passkey on your device guarantees that it can’t be used to sign in again, it’s best to also delete the passkey at the website where you created it to avoid confusion.

Passkeys are automatically synced among all your devices by the password manager so you can take advantage of them everywhere, but note that syncing is specific to just one password manager—for instance, iCloud Keychain doesn’t sync with 1Password or other third-party managers. The authentication method varies by device, but the overall experience remains the same.
You can also share passkeys with other people in your family or workgroup, just as you would with password-only accounts. They can log in to your passkey-protected accounts because they can prove possession (they have the passkey) and presence (they’re authenticating). In essence, you’re saying, “This person is authorized to act as the account holder.”
Passkey Concerns
Although passkeys are a big step forward in usability and security compared to passwords, they’re not without limitations or concerns, which have slowed adoption:
- Account recoverability: Because passkeys are tied to devices, if a user loses all their devices and doesn’t have a cloud backup option (such as registering a new iPhone to an existing Apple Account or adding a new device to a 1Password account), it’s impossible to recover an account. This is primarily a concern for those who have only a single device and no one with whom to share.
- Sharing hurdles: If you want to give someone else passkey access to an account—perhaps a shared bank account—you must log in on their device and then create an additional passkey that is stored on their device.
- Lack of portability: Although passkeys can be synced between devices using the same platform (iCloud Keychain, 1Password account, etc.), there’s no way to export a passkey from one platform and import it into another. You have to recreate passkeys from scratch for each platform. Vendors are working on the problem, but as you can imagine, enabling export/import opens up security concerns.
- User confusion: People are, understandably, still unfamiliar with passkeys, leading many to avoid them on principle. It hasn’t helped that using passkeys is slightly different on every website. The industry is working to standardize the user experience, but we’re not there yet.
- Passwords still exist: No major websites allow passkey-only accounts. Since all accounts still have passwords that can be stolen, passkeys aren’t increasing security nearly as much as they could.
- Enterprise support: Large organizations want to know if a passkey was generated on a secure device, if it can be revoked or rotated, and if the user employing the passkey has truly been verified. Support for these requirements is still evolving.
- Digital inheritance: When passkey-only accounts become commonplace in the future, passkeys may be more challenging to manage in situations involving the user’s death. For now, the solution is to share passkey-protected accounts with family members in advance using a password manager. The industry would do well to establish standards around this inevitability.
Nonetheless, the perfect shouldn’t be the enemy of the good. Passkeys improve on passwords in both usability and security, and the best way to get to an easier, more secure future is to start using passkeys wherever possible today.
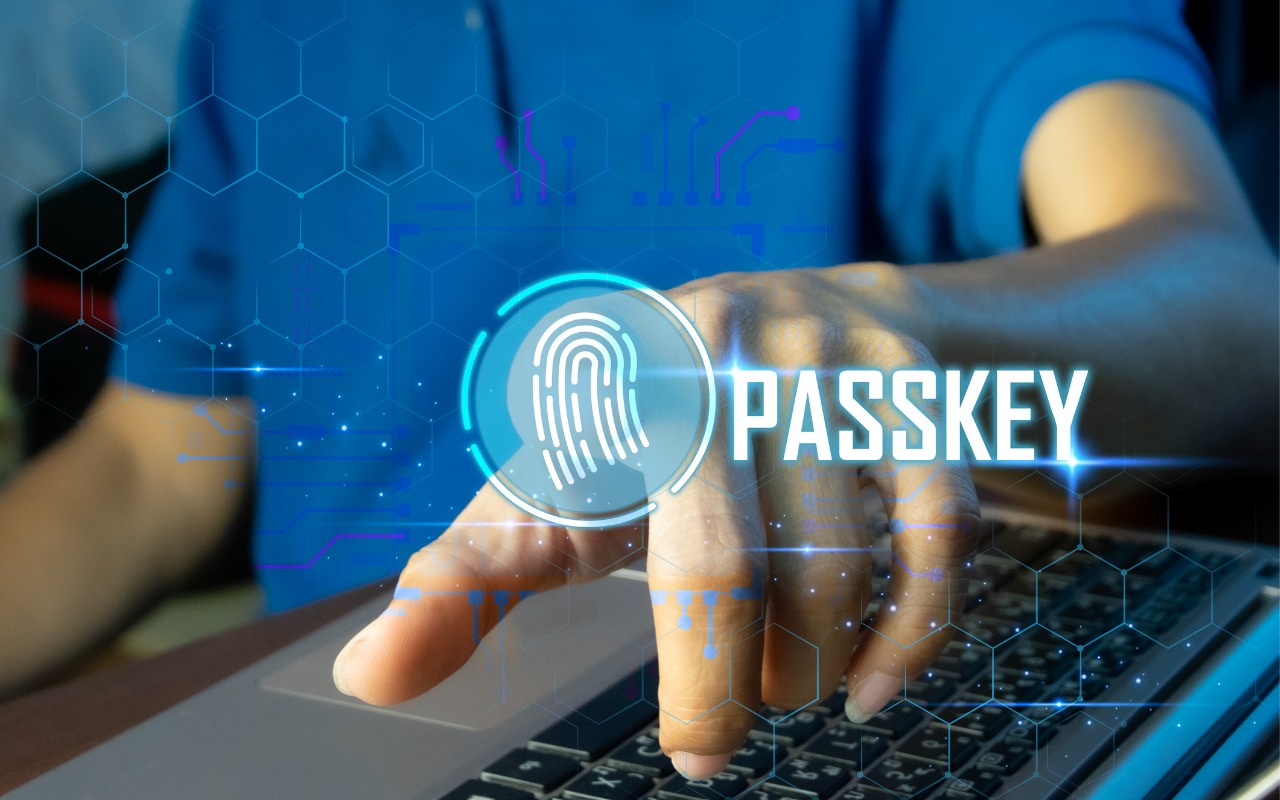
(Featured image by iStock.com/tanit boonruen)
Social Media: Passkeys are finally gaining mainstream traction, with support from Apple, Google, Microsoft, and numerous major websites. Find out why they’re more secure than passwords and how to start using them.