Stay Connected Off the Grid: How to Use Messages via Satellite in iOS 18
If you own an iPhone 14, 15, or 16 and are in the US, Canada, or Mexico, you now have access to a feature that could make all the difference the next time you find yourself staring at the dreaded SOS icon in your status bar. With iOS 18, Apple introduced Messages via satellite, a technology that lets you send and receive text messages even when you’re completely out of range of cellular and Wi-Fi networks. While it’s not a substitute for your usual messaging habits, it’s a powerful tool for minor emergencies, remote travel, or moments when the infrastructure fails you.
Why Messages via Satellite Matters
Cellular coverage is nearly ubiquitous—until it isn’t. It’s all too easy to find yourself without a signal in rural areas, and increasingly frequent natural disasters like hurricanes and wildfires can disrupt cell networks for days or even weeks. In those situations, the ability to communicate can range from a minor convenience to a literal lifesaver.
Apple’s satellite connectivity, first introduced with Emergency SOS and Find My features in iOS 16 and expanded to Roadside Assistance with iOS 17, has already proven its worth in real-world emergencies, most notably during the Maui wildfires. Now, with iOS 18 and a compatible iPhone, you can use Messages to let someone know you’re safe during a storm, get help from a friend if your bike gets a flat in a remote area, check in with family while hiking in rural regions, and stay in touch during large-scale network outages, all without a cell tower within range.
Who Can Use Messages via Satellite?
Messages via satellite is available on all iPhone 14, iPhone 15, and iPhone 16 models, and it currently works only in the US, Canada, and Mexico. The feature is included for free for two years after activating a supported device, and Apple has already extended this window once without indicating any plans to charge for the service.
Messages via satellite works best when both you and your recipient are running iOS 18 or later. However, SMS fallback is available for non-iPhone users and those on older iOS versions. If you haven’t messaged someone recently, you may be prompted to use SMS instead of iMessage. The best approach may be to send them a regular iMessage while you’re still online to “prime” the conversation for satellite use.
How to Access Messages via Satellite
Apple designed Messages via satellite for use only when you truly need it. You can’t just switch it on whenever you want—your iPhone will offer the option only when there’s no cellular or Wi-Fi connection available. When this happens, the SOS icon in your status bar indicates that Messages via satellite can be used. It may or may not have a satellite icon next to it.
![]()
To get started, open the Messages app. If you’re in SOS mode, you’ll see a prompt to enable satellite messaging. Alternatively, go to Settings, where a Satellite option will appear under Battery. Apple also provides a Satellite Connection demo (accessible from Control Center) so you can practice connecting your phone to a satellite even when you have connectivity. We recommend trying this demo at least once—don’t try Messages via satellite for the first time when you actually need it.

Screenshot
Once you’re ready to send a message, follow the on-screen instructions to point your iPhone at the sky. The phone will guide you to align with an available satellite, and you’ll see a green haze on the connection screen or a checkmark in the Dynamic Island when you’re connected. If you lose the connection, you’ll need to realign, as satellites move quickly across the sky. (Yes, you might look a bit eccentric waving your phone around in a field, but that’s a small price to pay for satellite connectivity.)

What You Can—and Can’t—Do
Messages via satellite has impressive capabilities, but it does come with some restrictions and quirks:
- Text-only chats: You can send and receive text messages using iMessage or SMS. No photos, videos, audio messages, stickers, or other attachments are supported. However, emoji and tapbacks work.
- Message length limits: iMessage conversations are restricted to 500 characters per message, while SMS messages are capped at 140 characters. If you go over these limits, the send button becomes disabled.
- No group chats: Group conversations aren’t supported, even if everyone is using iMessage.
- No location sharing in Messages: While you can’t send your location directly in a satellite message conversation, you can update your Find My location via satellite, which can then be viewed by those you’ve shared it with.
- Slower delivery: Messages take longer to send and receive, anywhere from 30 to 60 seconds per message. You must stay connected to the satellite to receive replies.
- Incoming message restrictions: Only emergency contacts and members of your Family Sharing group can initiate messages to you while you’re offline, and only via SMS. Their messages are delivered once you establish a connection to a satellite.
- End-to-end encryption: iMessage conversations via satellite are end-to-end encrypted, but SMS messages are not.
Practical Tips for Using Messages via Satellite
To make the most of Messages via satellite when you need it, keep these tips in mind:
- Practice connecting: Try Apple’s Satellite Connection demo before you need it. Familiarity with the process will save you time and stress in a real-world situation.
- Update emergency contacts: Make sure your emergency contacts and Family Sharing members are current. They are the only people who can reach you first when you’re off the grid.
- Prime important contacts: If you anticipate needing to reach someone while offline, send them a message while you still have coverage. This helps ensure the conversation is ready for satellite use.
- Stay connected for replies: Keep your phone pointed at the satellite until you get a response. Dropping the connection will interrupt the flow of messages.
- Don’t expect instantaneous service: Patience is key—sending and receiving messages via satellite is much slower than what you’re used to.
Messages via satellite is a significant step forward in making iPhones more useful in challenging situations. While we certainly hope you don’t need it every day, it’s a feature that’s good to have in your back pocket. The next time you see the SOS icon on your iPhone, don’t panic. Open Messages, follow the prompts, and stay connected when it matters most. It’s not magic, but it’s close enough for most practical purposes.
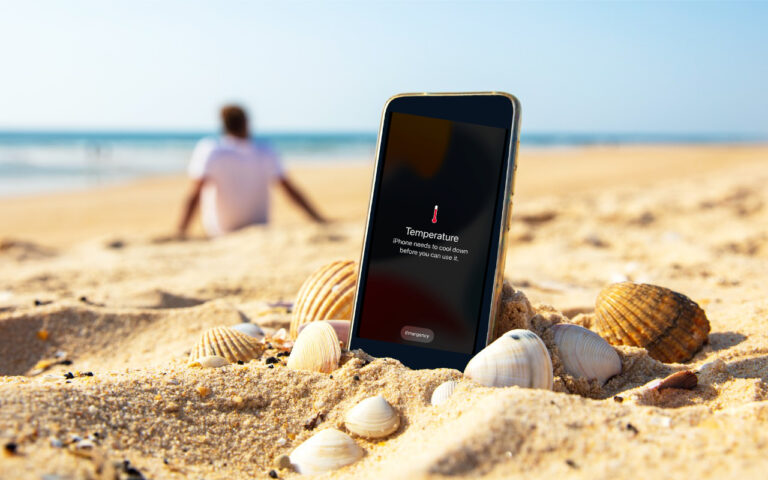
(Featured image by iStock.com/Jacob Wackerhausen)
Social Media: When storms knock out cell networks or hiking takes you off-grid, you can now text via satellite if you have an iPhone 14, 15, or 16 running iOS 18. Learn how Messages via satellite lets you stay connected when cell networks fail or aren’t available.


