Recovering from a Failed Update with a Nearby iPhone or iPad

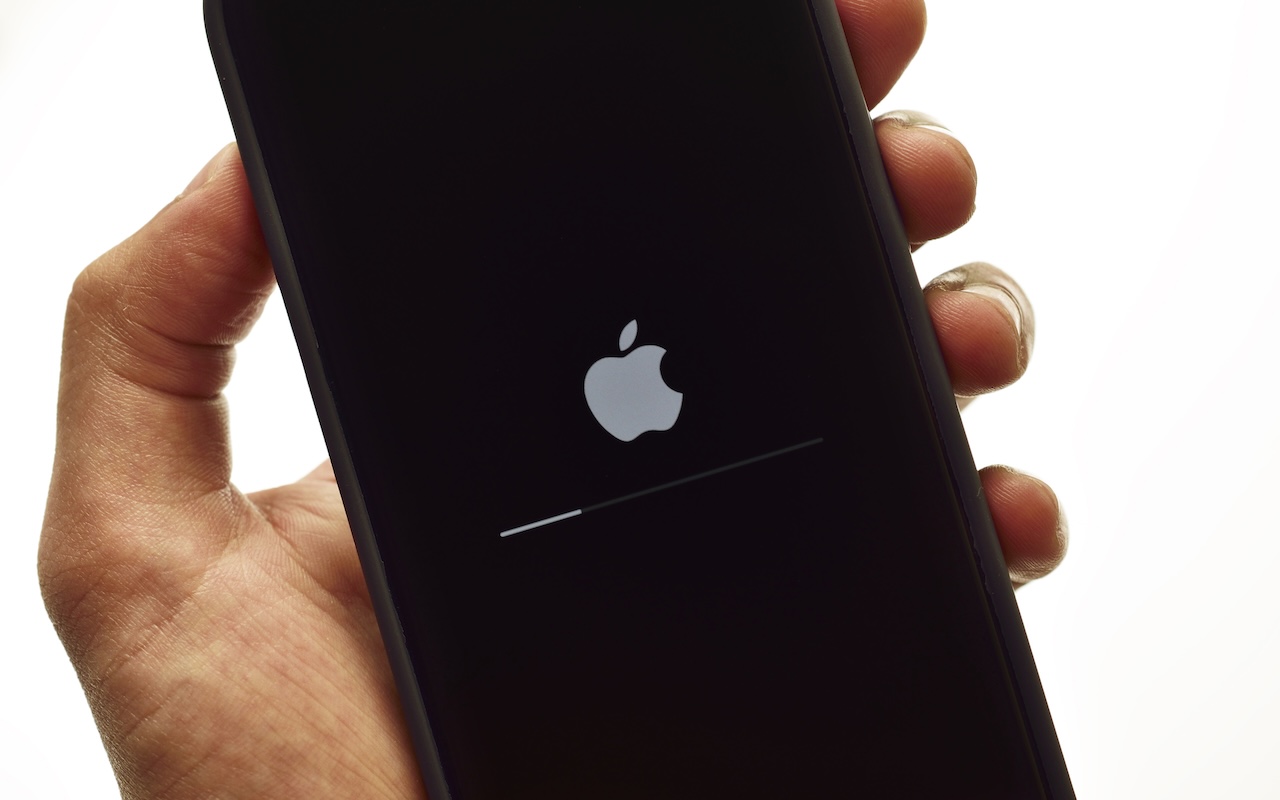
We hope you never need a new recovery option that Apple has added to the iPhone 16 and current iPad mini (with an A17 Pro chip). If a device gets stuck during an iOS or iPadOS update, you may see an animation of devices being moved close together, indicating that it’s in recovery mode. Apple’s new solution to a failed update involves attaching the device in recovery mode to power and placing it next to another unlocked device that’s connected to Wi-Fi and running iOS 18 or iPadOS 18. The working device will display a Restore Nearby iPhone/iPad message. Once you tap Continue and wait for the devices to connect, you’ll be asked to enter a six-digit code from the recovery device on the other device to share its Wi-Fi connection. Tap OK when you see the “Restoring iPhone/iPad” message. It’s best to have both devices connected to power while this is happening. If this new way to recover from a failed update doesn’t work, or if a different iPhone or iPad model has had trouble during an update, you can use a computer to restore the device.

(Featured image by iStock.com/stockforliving)


Social Media: If your iPhone 16 or A17 Pro iPad mini gets stuck during an update, Apple’s new recovery feature lets you use a nearby iPhone or iPad to get back up and running.

Similar Posts

  • Hey Dora…

    So we have Siri and I’ve been playing around with Alexa (don’t tell Grace!) but now I have Dora, too. Dora is the computer from Robert Heinlein’s Time Enough for Love, The Number of the Beast, The Cat Who Walks Through Walls which were some of my favorite Sci-Fi as a kid.

    I was helping a customer that has pretty bad arthritis and struggled to use the keyboard. I was straightening out her email and getting her off of AOL (something we do often!) and noticed how difficult it was to type a simple email. So, I showed her dictation on the Mac and wow, it was like a light just got switched on. Dictation has come a long way and if your are on Mavericks, Yosemite or El Capitan, Apple’s enhanced dictation works wonderfully.

    Dictation will not be a satisfying experience for you if you have a lot of noise in the room, i.e. other people talking, music, etc, but if you are working alone in a relatively quiet environment it can be a great tool not only for dictating that email but you can also use spoken commands to direct your Mac to take action.

    Setting up Enhanced Dictation

    * Open System Preferences, then click on Dictation & Speech. Turn on Dictation and set up your options.

    * Click *Use Enhanced Dictation*. This will download a 1.2GB file so that you can dictate without internet connection.

    * Choose your language and dialect. Some languages, such as English, have multiple dialects.

    * Choose the keyboard shortcut you will use to signal that you’re ready to start dictating. The default is pressing the function Fn key twice, which I find convenient but you can customize it.

    * Choose your preferred microphone from the pop-up menu below the microphone icon. Normally, you use the internal microphone but if you are using a headset or external microphone you can choose that.

    Using Dictation

    * Go to a document or other text field and place the insertion point where you want your dictated text to appear.

    * Press the keyboard shortcut for starting dictation. The default shortcut is Fn Fn (press the Fn key twice). Or choose Edit > Start Dictation. When your Mac is listening, it displays a microphone with an input meter that rises and falls as you speak.

    * Speak the words that you want your Mac to type. Use dictation commands to add punctuation, formatting, and more.

    * To stop dictating, click Done below the microphone icon, or press Fn, or switch to another window.

    The more you use Dictation, the better it understands you. Dictation learns the characteristics of your voice and adapts to your accent.

    I will go into some of the more enhanced features like Dictation Commands in next week’s Kibbles & Bytes but I can tell Dora to Open an App, select text, move up or down and much more. I think you will like dictation on the Mac, give it a try!

  • CES Random Thoughts

    I talked a bit about the big Consumer Electronics Show last week and it is rapidly fading in the rearview mirror. I have gone to this show every year for the past decade or more. We actually exhibited our Chill Pill speakers and Hammerhead products at one CES but mostly I have come as a “buyer” to look for new products and trends.

    The Las Vegas convention center is a gigantic venue and the CES show spills out into the parking lot in front but also into some of the surrounding hotels and resorts. The Sands convention center was the second largest and housed some of the more interesting booths. This was the location for 3D printing, health care, fitness, home automation, robots and drones. There were sophisticated baby monitors, constant reporting thermometers, implanted blood glucose monitors and even a company that sold wireless sensors that monitor your soil’s nutrients and moisture. Home automation was huge with several competing standards vying to challenge Apple’s HomeKit. This year more companies were showing HomeKit compatible products so I think that Apple’s vision of your interconnected home is not far off.

    There are lots of ways to move from the Sands over to the LVCC but the best way is the free buses offered by CES. Cabs and the monorail are possible but the buses seem to be the fastest and they are free and comfortable. For me it was a great way to rest my weary feet for a few minutes before going to the other venue to continue walking through the crowds. At the convention center there are three main halls and the international pavilion over at the Westgate (formerly, Hilton). The Center hall is dominated by the big guys with gigantic booths for Samsung, Intel, LG and others. Those booths are usually mobbed so I quickly walked through to check out the TVs and moved on. The North Hall is where the iLounge was born and products for iPad and iPhone dominate that section. The biggest part of the North Hall, however, was the Auto section with concept cars being shown my several manufacturers including Ford, Audi, Mercedes and new electric car upstart Faraday.

    In the past several years the iLounge area and the international area were dominated by all sorts of cases for iPhones and iPads. This year there were a few in each section but cases were definitely not the dominate category. Over at the international pavilion there were lots of hover boards but unlike previous years, demos of the scooters were restricted to the booth area. Nevertheless, all sorts of scooters were being shown. I searched for interesting USB-C products and found some hubs that were not quite ready for prime time and a bunch of cables. I did see the USB-C displays that incorporate a hub and that could be the real solution for the office set-up for the USB-C equipped MacBook.

    I never seem to be able to coordinate my meetings by hall. It seems that I’ll have one meeting in the North Hall, the next in the South Hall and then another back at the hotel. I rode the buses a lot and got to see the whole show floor that way.

    I did find some interesting products that we may add to our offerings, and had some great meetings so it was worthwhile to visit this show that is a window on future technology.

  • Who cares about QR Codes?

    By now you’ve probably seen one of those odd-looking white squares with a bunch of smaller square dots that make up a random pattern inside–that’s a QR code. QR stands for “Quick Response,” and a QR code is a form of barcode, just like on the packaging of nearly everything you buy.

    Usually QR codes are used to store Web links–URLs–so an ad can display just the QR code instead an unwieldy and hard-to-type web address. But QR codes aren’t just for ads. They’ve appeared on business cards, in magazines and books, on coins and bills, and even on tombstones–any place it would be nice to help someone load a Web link into a smartphone but where there isn’t enough room for a URL or in situations where viewers won’t remember the URL later. And the links? They can display anything that can appear on the Web: text, photos, videos, games, and more.

    Only one built-in iPhone app can scan QR codes–the Wallet app in iOS 9–but it can scan only QR codes that are associated with Wallet passes, things like airline boarding passes, concert tickets, and iTunes gift cards. For QR codes that encode any other sort of data, Wallet shows an error. It would be nice if Apple would add general QR scanning capabilities to Wallet or the Camera app, but until that happens, you’ll need another app.
    There are numerous QR code scanning apps in the App Store, but if you need a recommendation, give TapMedia’s QR Reader for iPhone a try. It’s free with ads (remove them with a $1.99 in-app purchase), scans both QR codes and traditional barcodes on most commercial products, and displays the associated information within the app. It can even help you create your own QR codes.

    To use a QR code scanner, launch the app, allow it to access the camera when it asks, and then point it at the QR code. Good apps will scan nearly instantly, but if not, move the camera so the QR code is centered between the guides. If even that doesn’t work, move forward or back so the camera can focus on the centered code.

    Once the code has been scanned, the app will usually bring up an in-app Web browser to display whatever was encoded. For certain kinds of data, like books or grocery items, the app may go right to Amazon or a price comparison site. Good apps will also keep a record of sites you’ve scanned, so you can go back to them later, even if you can no longer scan the QR code.

    So download a QR code scanning app and keep an eye out for QR codes. Once you start looking, you’ll find them everywhere–it’s a modern-day treasure hunt!