Don’t Miss Calls and Texts: How to Use New Phone and Messages Filtering
Spam is one of the many banes of modern existence. While we receive more email spam than anything else, interruptions from unwanted phone calls and text messages are even more annoying. Apple has added various features over the years to help control spam calls and messages, but none have completely solved the problem. The problem is that, unlike email, it’s difficult to evaluate a call or message before notifying the user, especially since phone calls occur in real time and text messages are meant for quick back-and-forths.
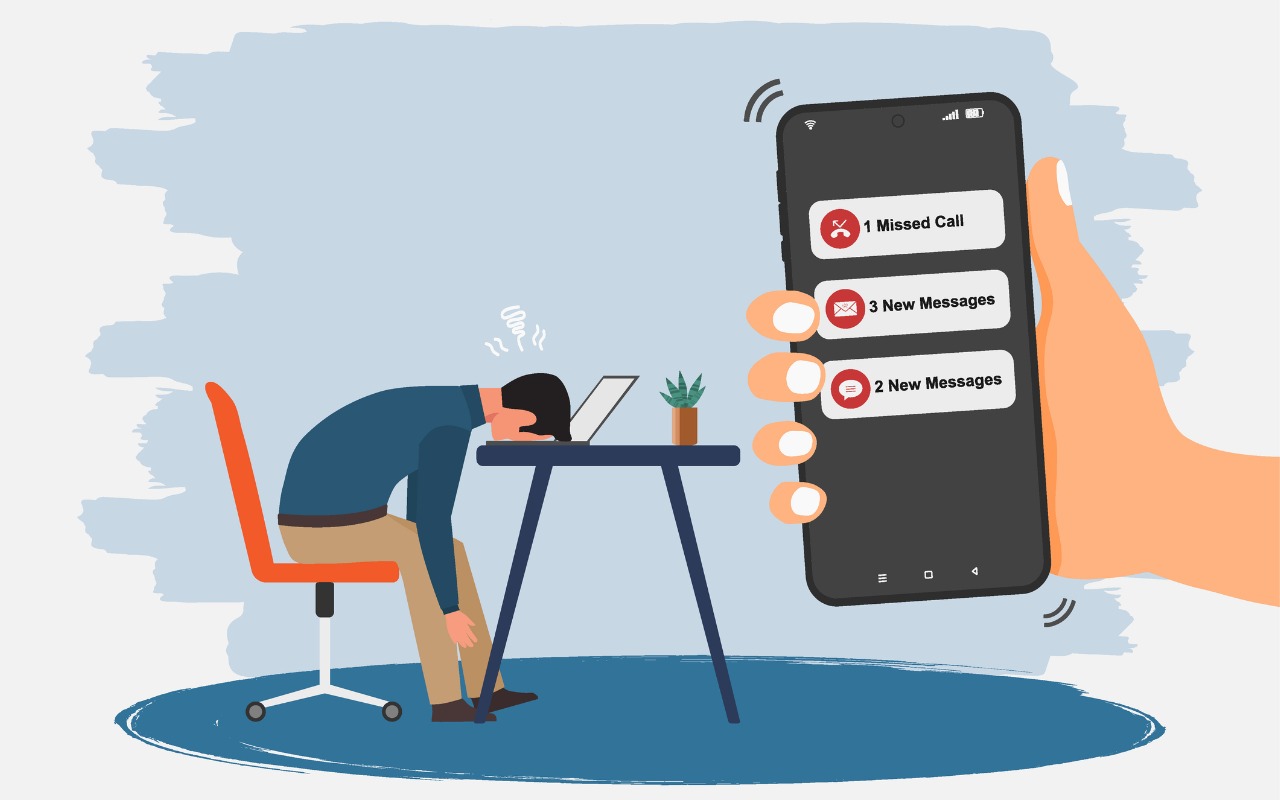
In iOS 26, iPadOS 26, and macOS 26 Tahoe, Apple has taken another swing at the problem with additional options to identify calls and messages from unknown sources. They work as advertised, but because everyone receives calls from unknown numbers (your doctor’s new line, or that person you exchanged numbers with at a party) and messages from unknown senders (two-factor authentication codes, notifications from a food truck that your order is ready), it’s not necessarily an easy decision to enable these options. When they’re turned on, it’s easy to miss important calls or messages when they come in, and if you don’t know where to look, you may never realize they arrived at all.
Only you can decide if the peace from not being inundated with spam calls and messages is worth the risk of missing something important. Here’s what you need to know about filtering unknown callers in Phone and unknown senders in Messages. We’ll focus on the iPhone apps here, but the interfaces are very similar on the iPad and Mac.
Unknown Callers in the Phone App
Apple offers several new ways to deal with unknown callers before they ring through and afterward, for calls you don’t pick up. Configure these options in Settings > Apps > Phone:
- Screen Unknown Callers: To control calls before they ring through, choose either Ask Reason for Calling or Silence. Our experience is that asking callers for information works only on real people—telemarketers just hang up. Silencing unknown callers is effective, but it also means you’ll miss some legitimate calls.
- Call Filtering: Enable these switches to move missed calls and voicemails from unknown callers to the Unknown Callers list, or even the Spam list if your carrier identifies the call as spam. These lists are accessible from the Phone app’s Filter menu.

When the two Call Filtering switches are enabled, two new lists appear in the Filter menu ➊, accessible by tapping the Filter button in the upper right. In Unknown Callers, each call displays Delete and Mark as Known buttons. Marking a call as known ➋ moves it and future calls from that number to the main Calls list; deleting a call (and optionally reporting it as spam) ➌ maintains it as unknown for future calls. We haven’t seen any calls identified as spam yet, so we don’t quite know what that screen looks like.

Our advice:
- If you’re concerned about missing potentially important calls, set Screen Unknown Callers to Never and turn off both Call Filtering switches.
- As a middle ground, choose Ask Reason for Calling and turn on Spam but not Unknown Callers.
- If you hate unwanted calls and don’t care if you miss the occasional legitimate call, turn on Ask Reason for Calling or Silence and select both switches.
Unknown Senders in the Messages App
Messages are easier to screen and filter than phone calls because they don’t occur in real time. In Settings > Apps > Messages (below left), you’ll find:
- Screen Unknown Senders: This option creates a separate Unknown Senders list and hides those conversations from your main list.
- Filter Spam: Enable this switch to separate explicit spam and junk messages into a Spam list. Apple’s spam filtering seems to be accurate, if conservative.
When Screen Unknown Senders is on, two additional options become available:
- Allow Notifications: Should you be notified when a message from an unknown sender arrives? It depends on the message, and Apple lets you allow or block four types: time-sensitive messages, messages from individuals rather than organizations, transactional messages, and promotions (below center).
- Text Message Filter: Turning on the Screen Unknown Senders and Spam switches is sufficient to create Unknown Senders and Spam lists in Messages. What the Text Message Filter setting (below right) does, when enabled, is create lists for Transactions and Promotions, and sub-lists for Finance, Orders, and Reminders under Transactions.

In the Messages app, tapping the Filter button at the top right reveals all the available lists. Note that the lists are exclusive—if a message appears in Promotions or Spam, for instance, it won’t also be in the main Unknown Senders list. It also seems that the more granular filtering enabled by the Text Message Filtering setting applies only to new messages, not existing messages, so you won’t see much in there to start.

Our advice: How much of a difference these settings will make to you depends on how heavily you use Messages. For those who receive relatively few messages from unknown senders, it’s probably worth keeping only the Filter Spam setting on. As that number increases, we recommend turning on Screen Unknown Senders and enabling at least Time Sensitive, Personal, and Transactions for notifications. Make sure to check the Unknown Senders list regularly to make sure you’re not missing anything. Only those who are drowning in text messages from unknown senders should turn on Text Message Filtering to get the more granular filtering—it’s just fussier than necessary for most people.
One final note. The Phone and Messages apps on the iPhone, iPad, and Mac all have these settings, and you must set them individually on each platform. It’s best to ensure each platform displays the same lists; otherwise, you might have trouble finding the same message across devices. Also, if you have devices that aren’t yet running iOS 26, iPadOS 26, or macOS 26, you’ll still receive Messages notifications from unknown senders that are otherwise silenced on the newer operating systems.
(Featured image by iStock.com/fadfebrian)
Social Media: Buried by spam calls and texts—but worried about missing something important? Learn how Apple’s new Phone and Messages apps can screen and filter calls and texts without causing you to miss that doctor’s call or delivery text.