Pay Attention to Unsolicited Facebook Password Reset Messages

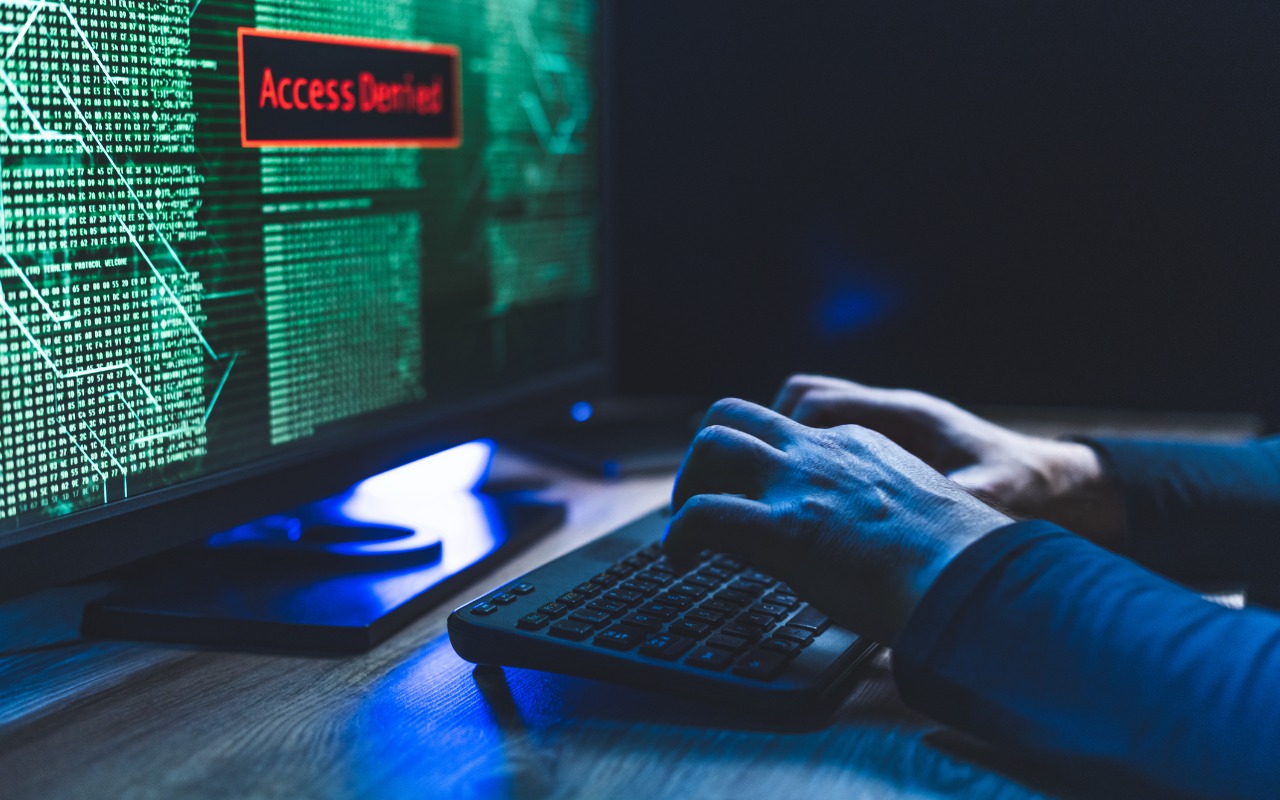
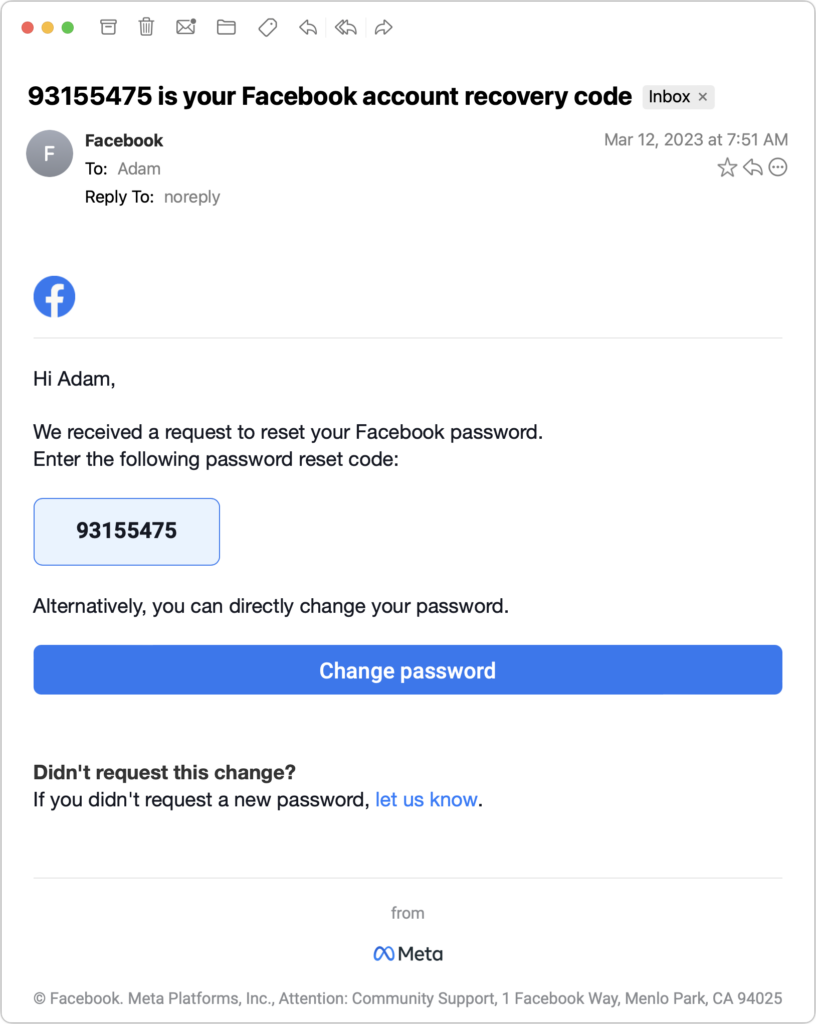
We’ve seen an uptick in attacks on Facebook accounts that generate email messages like the one below. It’s saying someone is attempting to reset your Facebook password in order to access your account. If you didn’t ask to reset your Facebook password within the past 5 minutes, do not enter the provided code! In fact, do nothing with a message like this, since you can’t easily tell if it’s a legitimate message from Facebook or a phishing attack. As long as your email account hasn’t been compromised, you have nothing to worry about, but consider any such messages as encouragement to have strong, unique passwords for your email account and any social media services. Also, we highly recommend turning on two-factor authentication for these accounts. Of course, if you get a second message saying that your password was reset, immediately secure your account.

(Featured image by iStock.com/Nicholas77)


Social Media: If you receive unexpected password reset email messages from Facebook, don’t worry—but don’t click anything! Use them as encouragement to ensure your email and social media passwords are strong, unique, and protected with two-factor authentication.

Similar Posts

  • Sonos and Apple Music

    A little over a week ago things became official: Apple Music is now available to those who use “**Sonos.**”:http://www.smalldog.com/category/?mmfg%5B0%5D=Sonos For some of us this wasn’t a huge announcement. I have been using the beta version now for several months and have been enjoying my Apple Music playlists as well as my own personal play lists on my iPhone. I have been a huge fan of Sonos for about two years and not being able to listen to Apple Music was my one complaint about the system, but not anymore!

    Apple Music isn’t the only great thing about Sonos either, did you know that you can also control your Sonos system from your computer? I admit, I didn’t realize this at first. With a huge focus on how easy the system is to set up and control from your iPad or iPhone, this is one feature that’s often overlooked. With a simple “App download”:http://www.sonos.com/controller-app on your computer, you can open up your entire (in most cases) music library for listening through your Sonos system. Another great feature of the Sonos App is the ability to set a sleep timer. If your someone who enjoys falling asleep to music, but prefers it doesn’t stay on all night this is a huge feature even if it is a bit hidden. The more info icon within the Sonos App hides a lot of features, including the sleep timer.

  • _Dear Friends,_

    I am off to Daytona for the 75th Bike Week. We went out to the 75th anniversary of the Sturgis Bike Week so it is only appropriate for us to hit the one sort of in our neighborhood, too. We will be riding on our 2003 Victory motorcycles and trying to avoid any big roads.

    Sugaring season in Vermont is well underway and this time of the year in Vermont always reminds me when we used to sugar the old-fashioned way. Now it is mostly pipelines and big sugaring operations but back when we lived in North Wolcott, Vermont I had a big work horse. The horse was kind of untrained but hitching her to the sled with the big heavy sap gathering tank made her behave. We would tap the trees by hand, hang buckets and as the sap began to flow we would tramp through the deep snow to empty the buckets into the tank. One horsepower was a lot of power as the horse would make her way through the sugar maples and the tank got full. We would take it to our makeshift sugaring arch and boil the sap into yummy syrup. Some of the best times! I still prefer the “grade b” syrup over fancy grade.

    This week’s Kibbles & Bytes exclusive brings back the “**Chill Pill six-pack special.**”:http://www.smalldog.com/wag900002006/ These little portable speakers have been around for a long time and I need to reduce our inventory. So, you can get 2 Black, 2 Red and 2 White Chill Pill speakers for only $29 this week. They make great gifts and are great for camping or just hanging out in the yard. Normally, they are $9.99 each but this week 6 for “**$29!**”:http://www.smalldog.com/wag900002006/

  • A Swinging Hot Spot in Paradise

    You are visiting Key West, accompanied by your trusty iPhone and MacBook Air. Suddenly there’s an emergency at work, and you need to get online with your Mac. You can pick up a cell signal with the iPhone, but there’s no Wi-Fi that isn’t locked up. Well, my first thought might be “oh well, I’m on vacation!” but you are dedicated and need to be online.

    Don’t worry! You can use your iPhone’s cellular data plan to create a personal Wi-Fi hotspot that lets your Mac access the Internet through your iPhone. Also called “tethering,” it’s fast, easy, and can be a life-saver when you just have to get online with a Mac or your Wi-Fi-only iPad. It supports up to 5 users, too, which means you can get your team online, too!

    Before we explain how to do set up a personal hotspot, note that most but not all cellular carriers allow tethering on existing plans. For some, you might have to pay more for tethering. Keep in mind that any data consumed by your Mac while tethered will count against your data allowance and may generate overage fees. Carriers with “unlimited” data, like T-Mobile and Sprint, generally throttle your bandwidth to slower speeds if you use too much data.

    Along those lines, if you use a file sharing service like Dropbox or Google Drive, or an Internet backup service like CrashPlan or Backblaze, turn them off before connecting. Particularly if they haven’t connected in a while, those services can transfer a lot of data quickly, which could result in a hefty overage charge or awkward data throttling for the rest of the month.

    With those warnings out of the way, follow these steps in iOS 9 to turn on Personal Hotspot:

    1. On your iPhone, if you’ve never enabled the feature before, go to Settings > Cellular > Personal Hotspot. Once you’ve turned Personal Hotspot on once, it moves up a level, so you can access it from Settings > Personal Hotspot.
    1. Tap on Wi-Fi Password and enter a password that’s at least 8 characters long and easy to type. It doesn’t need to be super secure because you can keep Personal Hotspot turned off unless you’re using it. But you do want a password so random people nearby can’t connect and use your data.
    1. Once you’ve entered a password, slide the Personal Hotspot switch.

    That’s it! The Personal Hotspot screen provides basic instructions for connecting to the iPhone via Wi-Fi, Bluetooth, and USB. Stick with Wi-Fi, since it’s the easiest and most reliable in most cases.

    • To connect to your new Personal Hot Spot on your Mac, click the Wi-Fi icon in the menu bar and choose your iPhone’s name.
    • On your iPad, go to Settings > Wi-Fi and choose your iPhone.
    • Enter your password when prompted, making sure to select Remember This Network. That way, you won’t even have to enter your password the next time.
    • The Mac or iPad then connects to your iPhone, showing a hotspot icon instead of the usual wave icon for the Wi-Fi menu.

    Could it get any simpler? When you’re done, the safest thing to do, to ensure you don’t accidentally end up using too much of your data allowance, is to turn off the Personal Hotspot switch in Settings > Personal Hotspot. Your Mac or iPad will automatically disconnect.

    Actually, it CAN be simpler! Your Mac can automatically use the personal hotspot on your iPhone to connect to the Internet when they’re within range of each other.

    Use Instant Hotspot on your iPhone (with iOS 8 or later) to provide internet access to your Mac computers and other iOS devices (with OS X Yosemite or iOS 8) that are in range and signed into iCloud using the same Apple ID. Instant Hotspot uses your iPhone — you don’t have to enter a password or even turn on Personal Hotspot.

    Make sure your iOS device and your Mac are signed into iCloud with the same Apple ID.

    On your Mac, click the Wi-Fi status icon in the menu bar, then choose your iPhone or iPad.

    After you connect to the iPhone or iPad Personal Hotspot, you can check the cellular signal strength and the battery status of the iPhone or iPad in the Wi-Fi status menu.

    When you’re not using using the hotspot, your devices automatically disconnect to save battery life.

    One more big advantage of Personal Hot Spots. When you are shopping for that new iPad, perhaps you don’t need the cellular model if you nearly always have your iPhone handy. That’s what I do. If I need internet access on my Wi-Fi iPad, I simply connect to my Hot Spot! Saves me the added cost of a cellular-enabled iPad and the monthly fees from the cell carrier!