
Apple Starts Releasing Rapid Security Responses for the iPhone, iPad, and Mac
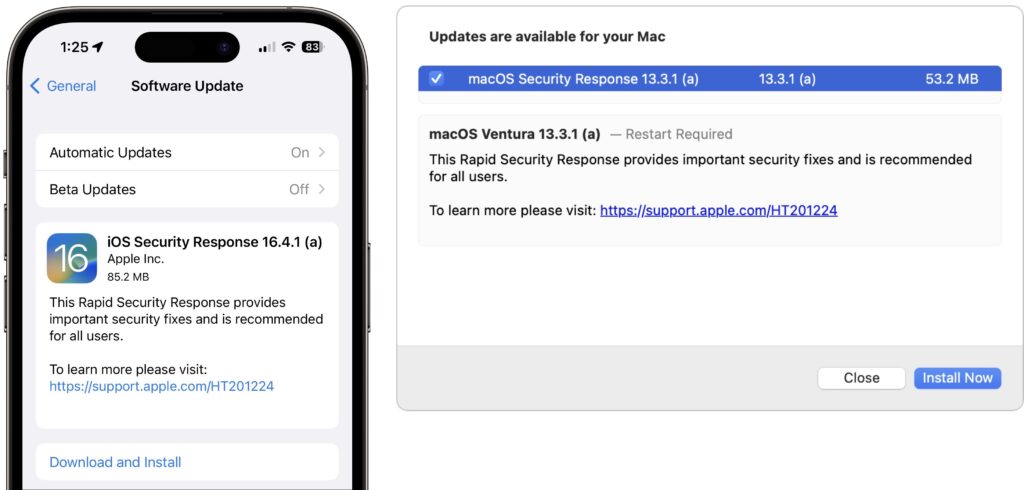
By now, you’ve probably seen a new form of update for iOS, iPadOS, and macOS: the Rapid Security Response. Early in May, Apple released the first instances of these updates, which the company had promised for iOS 16, iPadOS 16, and macOS 13 Ventura when those operating systems were first announced. Let’s answer some of the questions we’ve been hearing.
What are Rapid Security Responses?
Rapid Security Responses are security updates that Apple wants to distribute as quickly and broadly as possible. Users often delay installing standard operating system updates because they’re huge downloads, interrupt work for a long time while installing, and occasionally cause new problems.
To address these concerns, Rapid Security Responses are much smaller, install far more quickly (sometimes without a restart), and can easily be removed if they cause problems.
What security vulnerabilities do Rapid Security Responses address?
Apple released no security notes for its first set of Rapid Security Responses, and we don’t anticipate that changing for future releases. The point of a Rapid Security Response is to block a serious vulnerability that’s likely being exploited in the wild, and Apple doesn’t describe such fixes until it has patched vulnerable operating systems, including older versions, tvOS, and watchOS, none of which can take advantage of Rapid Security Responses. If this last set of updates is any indication, Apple will identify the Rapid Security Response fixes in security notes for the next full operating system update, which will also include the same fixes.
How do I install a Rapid Security Response?
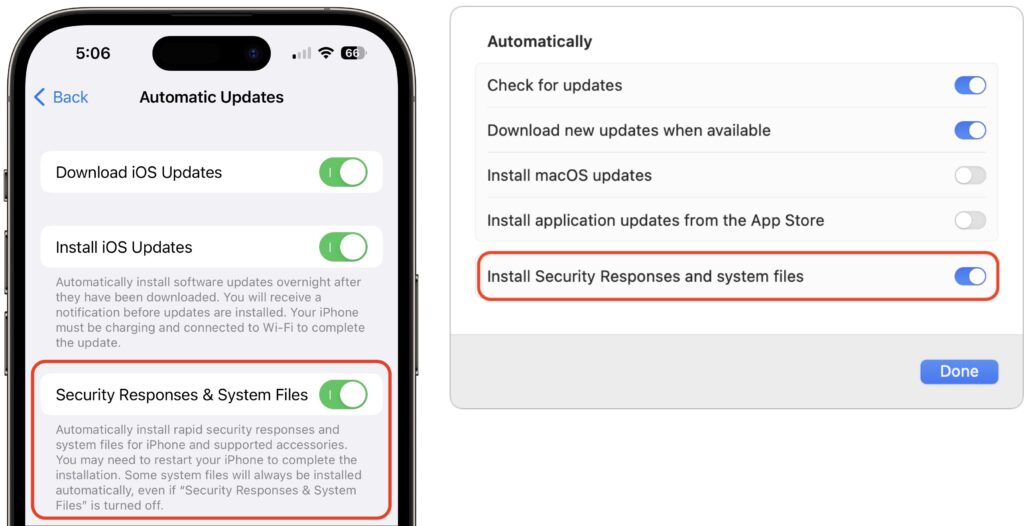
Rapid Security Responses use the same software update mechanism as Apple’s other operating system updates. You can and generally should let Rapid Security Responses install automatically. That’s the default, but check to make sure.
- iOS/iPadOS: Go to Settings > General > Software Update > Automatic Updates, and look at “Security Responses & System Files.”
- macOS: Go to System Settings > General > Software Update, and click the ⓘ next to Automatic Updates. Then look at “Install Security Responses and system files.”
On recent iPhones and Macs, the installation time was quick, with the device being ready to use again within 2–4 minutes, including a restart. Older devices took longer, and future Rapid Security Responses may take more or less time.
How can I revert if a Rapid Security Response causes a problem?
Apple makes this easy in both iOS/iPadOS and macOS, with the amount of time being roughly similar to how long the Rapid Security Response took to install:
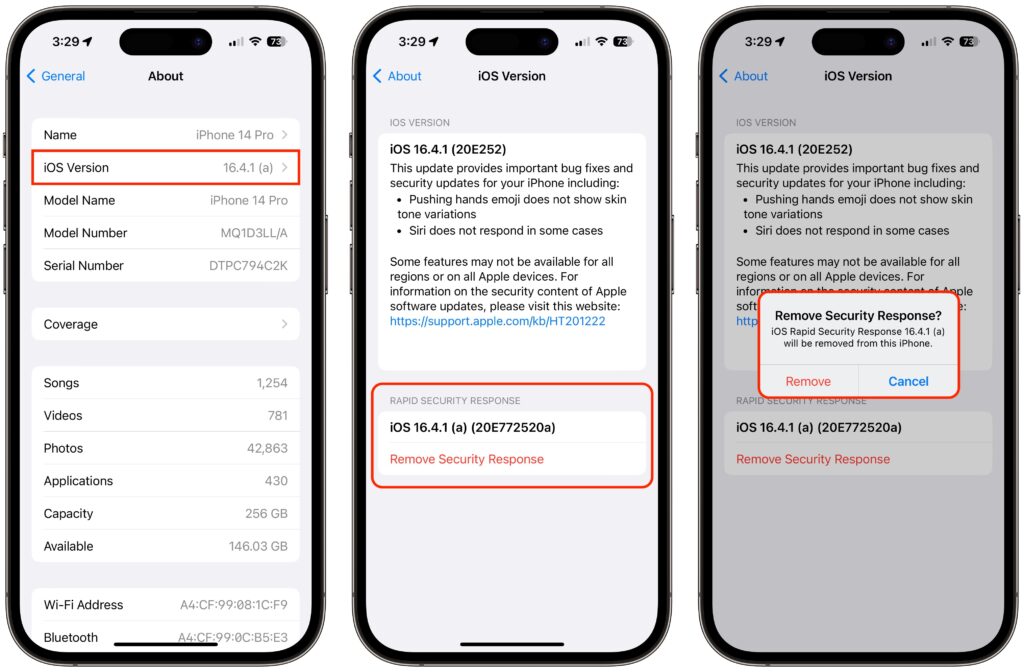
- iOS/iPadOS: Go to Settings > General > About > iOS/iPadOS Version, tap Remove Security Response, and confirm the action.
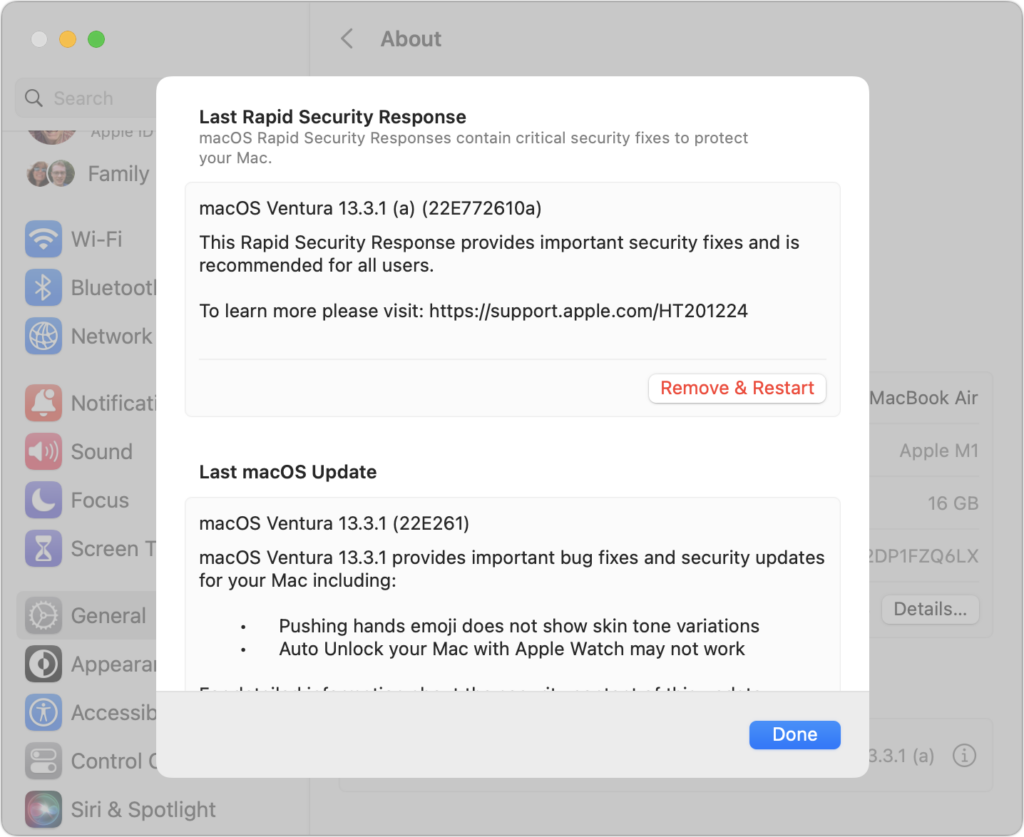
- macOS: Go to System Settings > General > About, click the ⓘ next to the macOS version, click Remove & Restart, and confirm the action.
How can I tell if I’m running a Rapid Security Response?
With this first Rapid Security Response, iOS and iPadOS both posted a notification informing the user of the update; macOS did not.
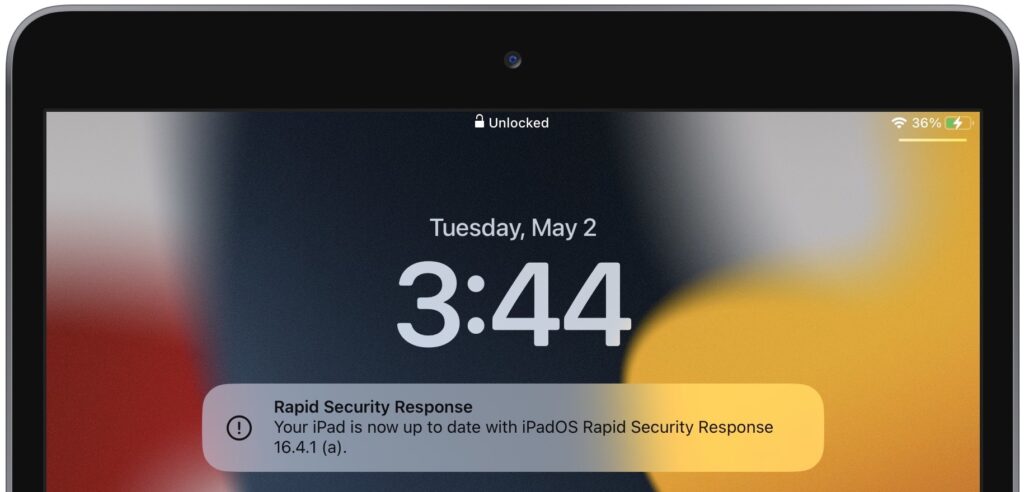
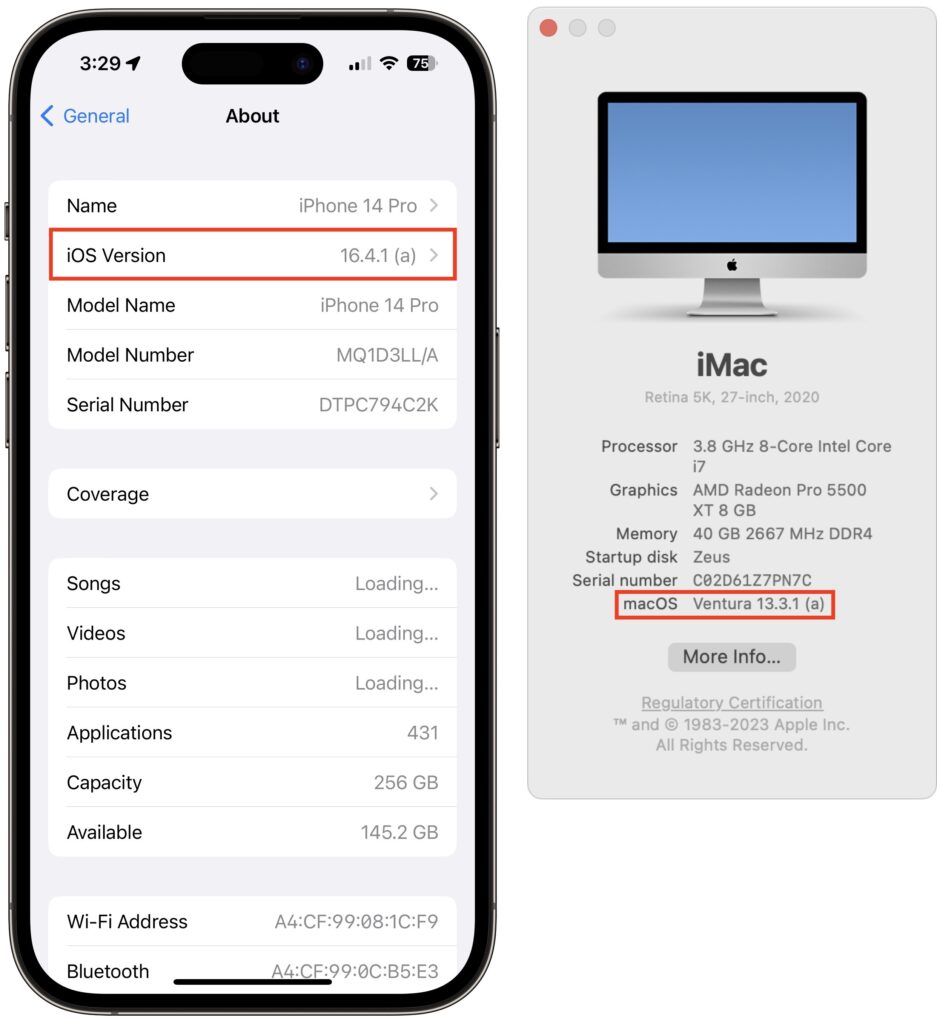
More generally, devices updated with a Rapid Security Response will have a letter after their version number, such as 16.4.1 (a), and the letter will disappear with the next full update, such as iOS 16.5. To determine what version your devices are running:
- iOS/iPadOS: Go to Settings > General > About, and look at the iOS/iPadOS Version line.
- macOS: Choose About This Mac from the Apple menu, and look at the macOS line.
Given what we know now, we recommend that everyone install Rapid Security Responses as soon as they’re available. If you notice a problem afterward, you can remove it. The only caveat is that if your employer manages your device, they may prefer to delay the Rapid Security Response installation until they’re comfortable with the changes.
(Featured image by iStock.com/champpixs)
Social Media: In an effort to protect users from security vulnerabilities that are being actively exploited, Apple has introduced Rapid Security Responses, which are security updates that are quick to download, quick to install, and easily removed if necessary.