Control Center Is Improved—and Highly Customizable—in macOS 26 Tahoe
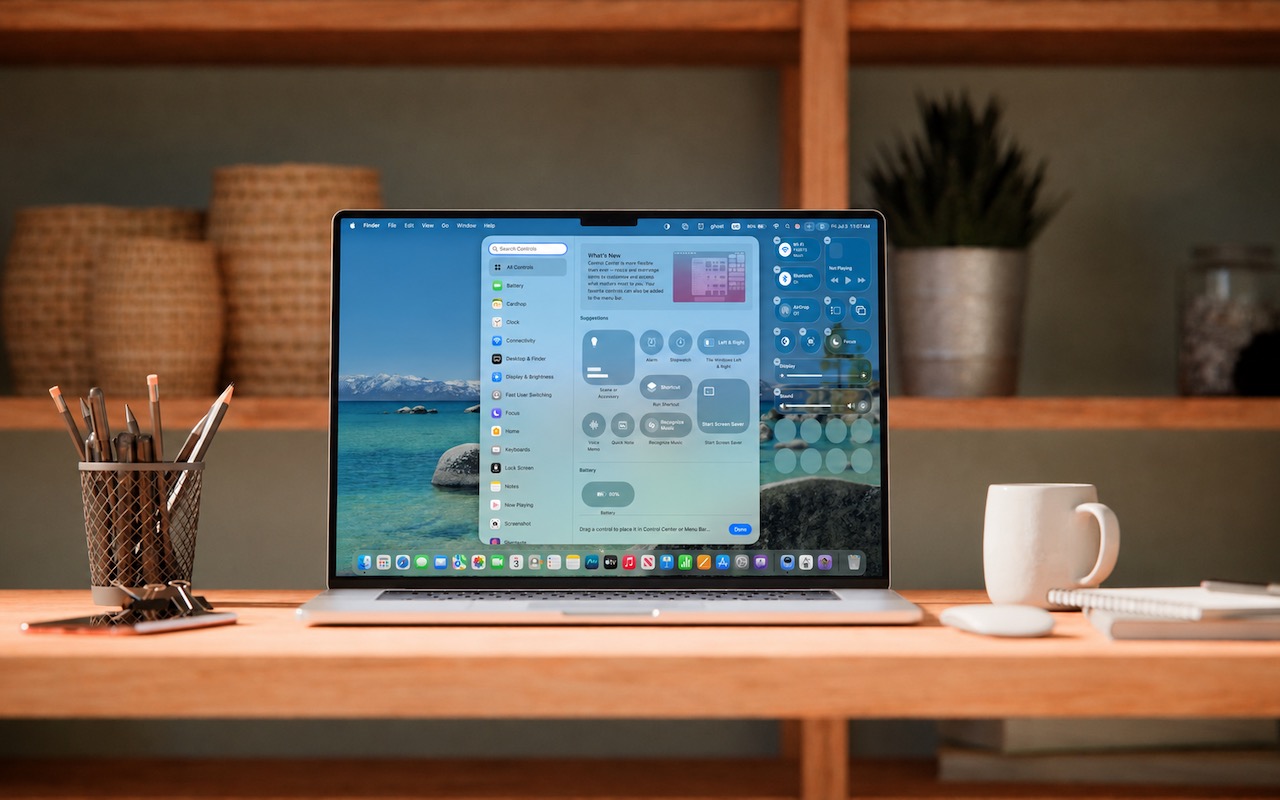
Control Center debuted on the iPhone over a decade ago in iOS 7 and made its way to the Mac in 2020 with macOS 11 Big Sur. However, through macOS 15 Sequoia, Mac users who wanted to tweak Control Center for their needs were limited to turning specific controls on or off. With macOS 26 Tahoe, Apple completely overhauled Control Center, enabling users to remove, rearrange, and add controls, including new ones from independent developers.
If you mostly ignore Control Center on your Mac, it’s worth another look in Tahoe. The big win of Control Center is that it provides quick access to numerous controls without occupying valuable space in the menu bar, a limitation that MacBook users regularly encounter. Now that you can personalize Control Center, it’s much more useful than before.
Before we explain how to customize Control Center, let’s look at the basics.
Open and Use Control Center
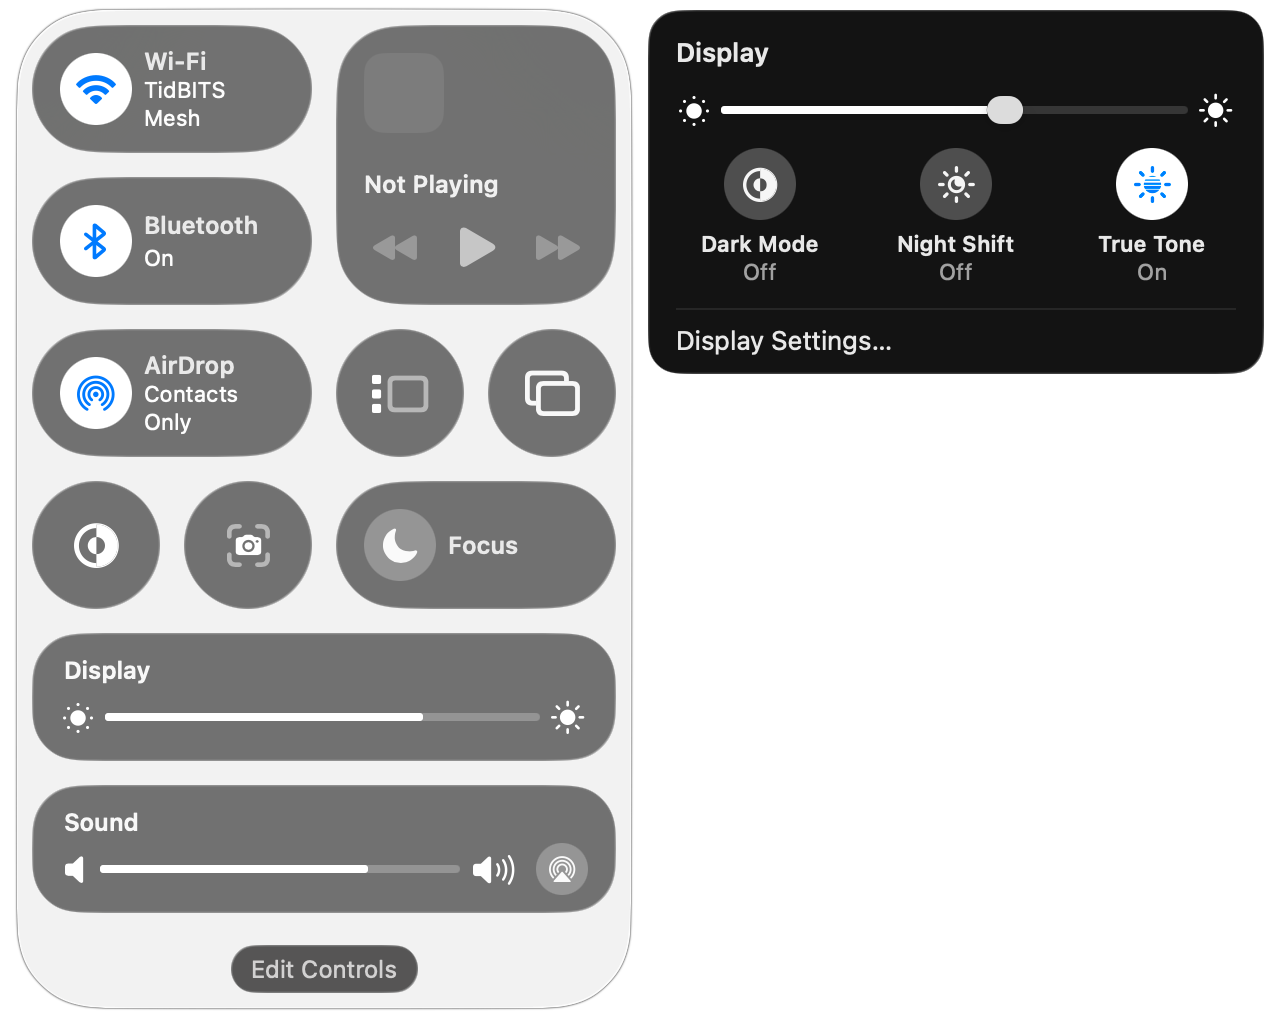
To open Control Center, click its icon  at the right side of the menu bar or use its Fn-C keyboard shortcut. It always appears in the top-right corner of the screen (below left). You may notice a colored dot next to the Control Center icon: orange means the microphone is in use, green tells you a camera is in use, purple indicates that system audio is being recorded, and an arrow means an app is using your location.
Some controls, like Dark Mode and Screenshot, are simple buttons that you click to toggle a setting or trigger an action. You’ll also see sliders, such as for Display Brightness and Sound Volume. Many controls, such as Display, open separate panels with additional controls (below right).
Customize Control Center
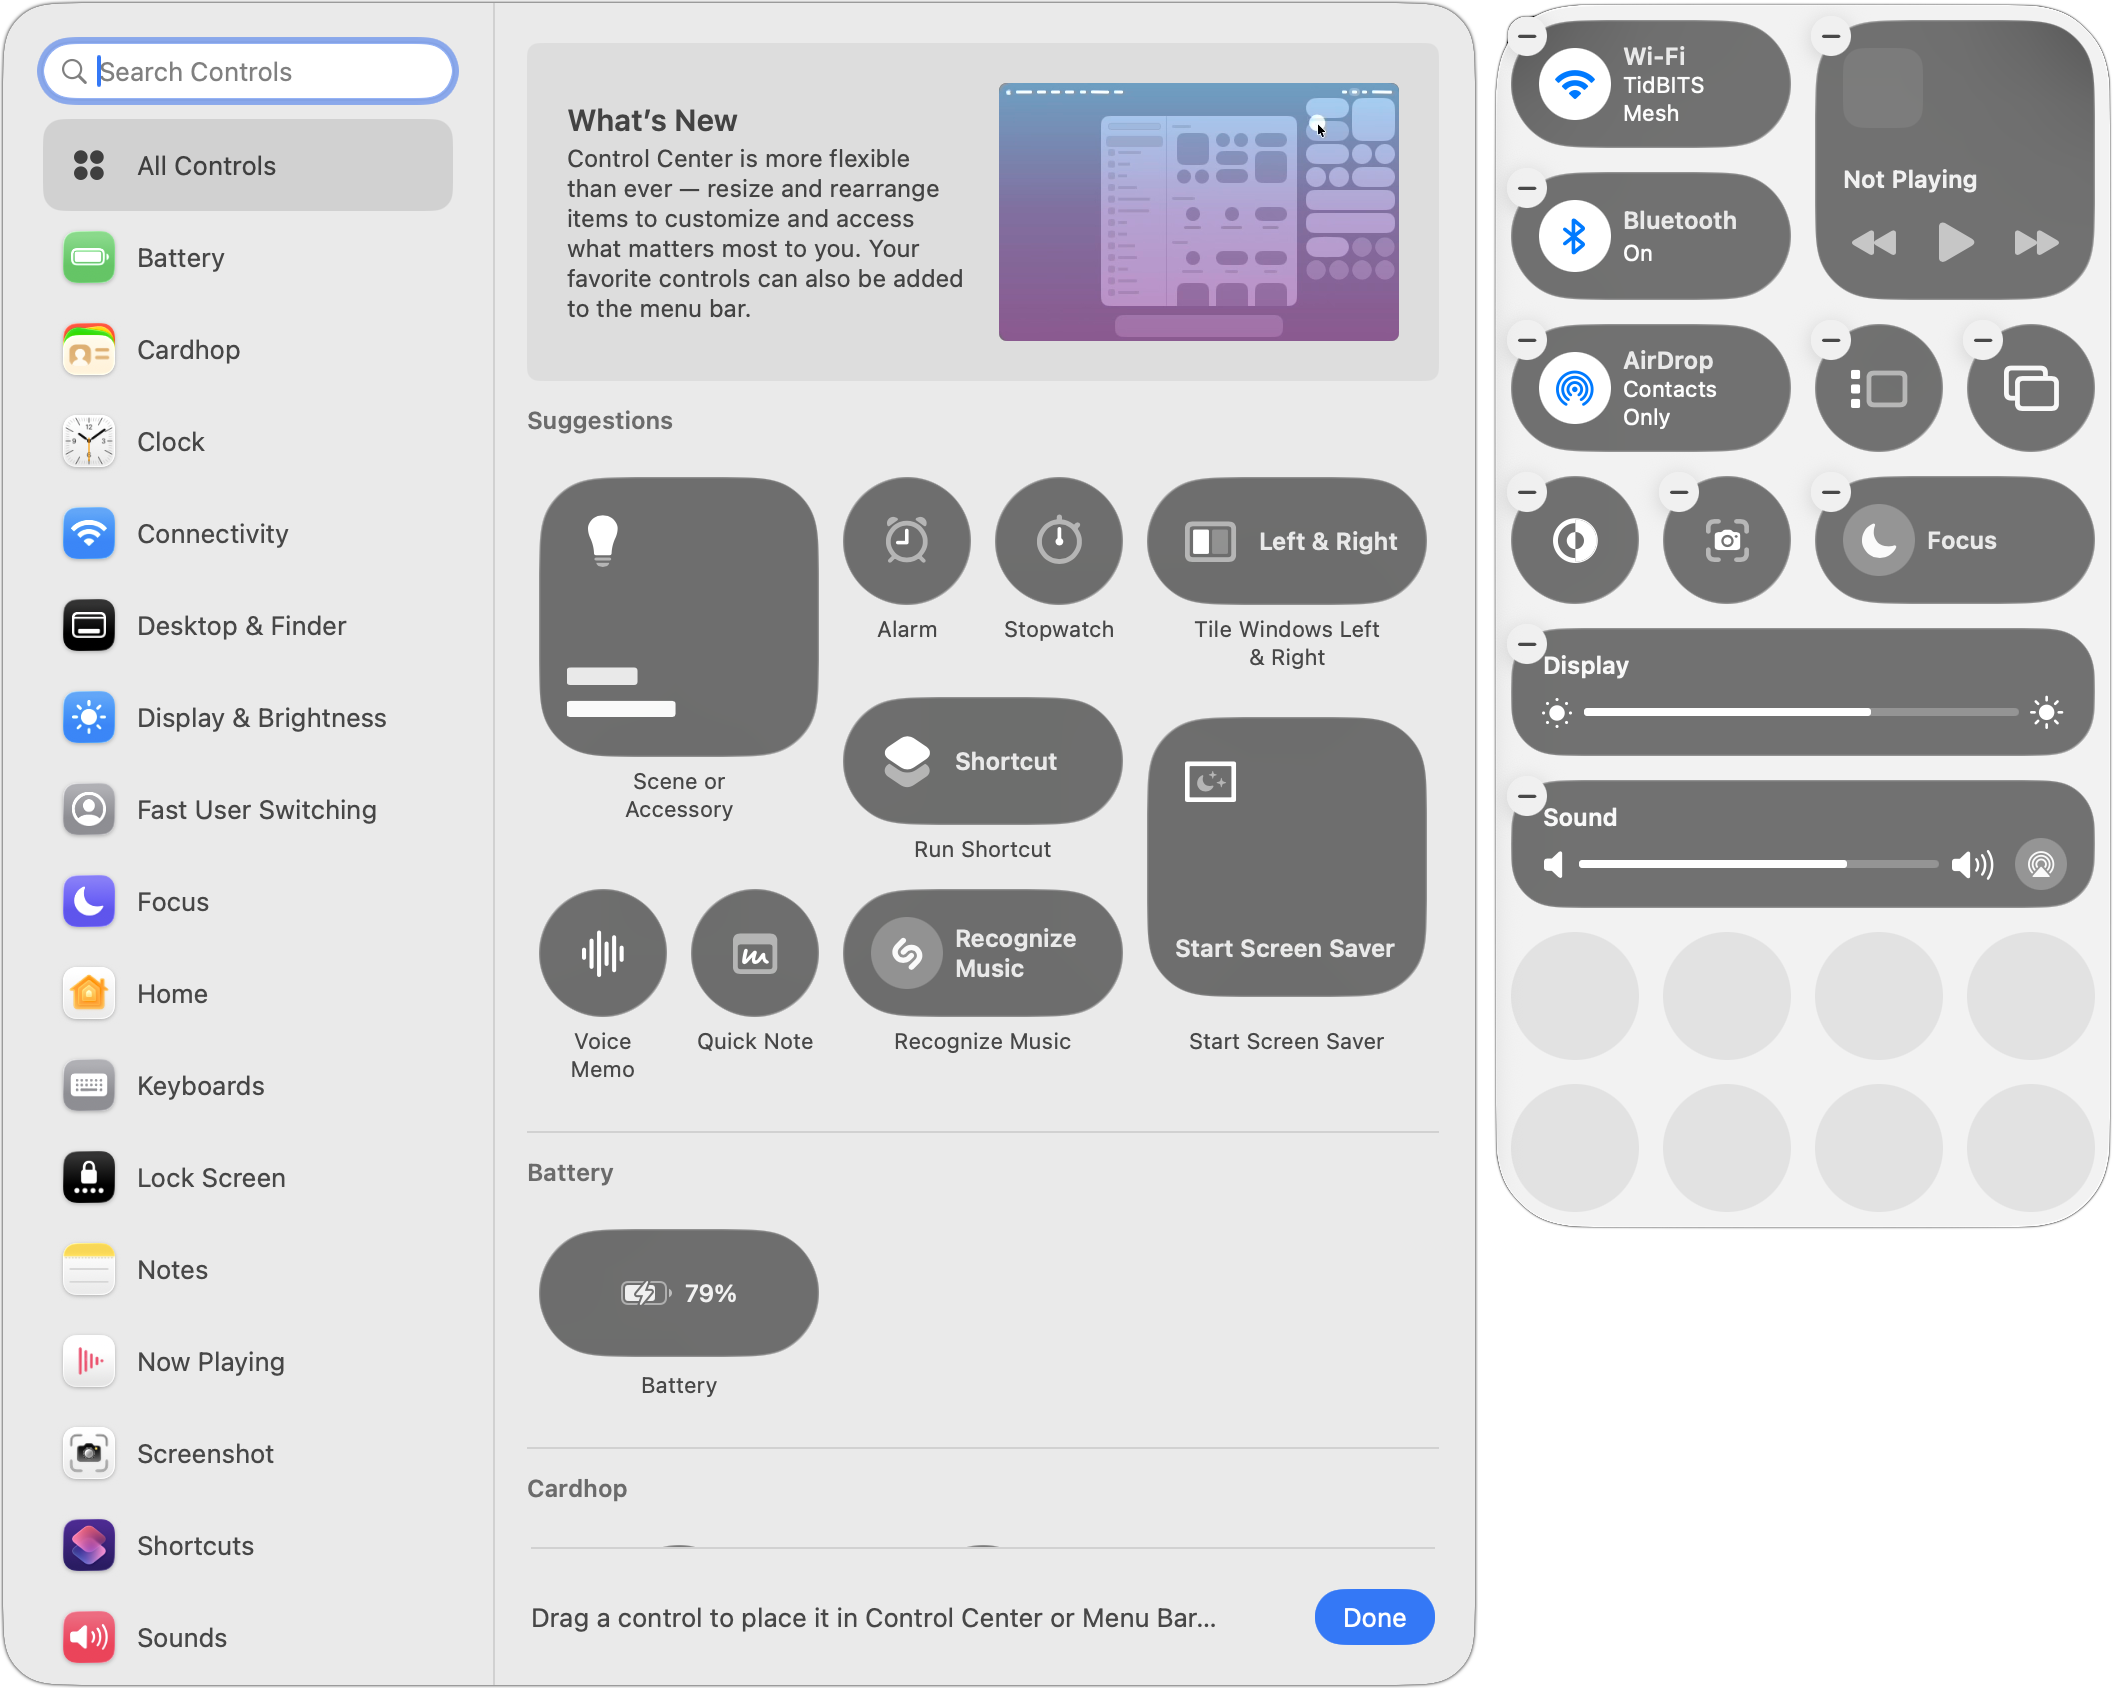
To begin customizing Control Center, don’t look in System Settings anymore—instead, click the Edit Controls button at the bottom of Control Center. That displays a ⊖ button on each control, adds eight empty single-button slots at the bottom, and opens the Control library.
Once here, you can:
- Remove existing controls: Click a control’s ⊖ button to remove it from Control Center. You can always put it back later, although the lack of a label in Control Center can make it tricky to find in the Control library, because you may not know what you removed.
- Resize controls: You can usually resize a control by Control-clicking it and choosing Small, Medium, or Large. Small controls occupy a single slot; medium controls occupy two side-by-side slots; and large controls occupy four slots, either as a 2-by-2 grid or a 4-by-1 line.
- Rearrange the order: Drag controls in the grid to reorder them. You can move one only to a position where it’ll fit, so you may need to resize other controls to make space.
- Add new controls: More on this below, but in short, you add new controls from the Control library window that appears to the left of Control Center when you click Edit Controls.
When you’re finished customizing Control Center in these ways, click Done at the bottom of the Control library.
Adding Controls to Control Center
Apple gives you two ways to add controls from the Control library:
- Drag a control in the main pane to the desired Control Center spot.
- Hover over the desired control, click the green ⊕ button that appears, and choose Add to Control Center. You can also choose Add to Menu Bar to put the control there for even quicker access.
To discover what controls are available, either scroll through the All Controls collection or select a particular category in the sidebar. You can also search for controls by name.
Nearly all the controls have been added to the library in advance by Apple, but there are two exceptions:
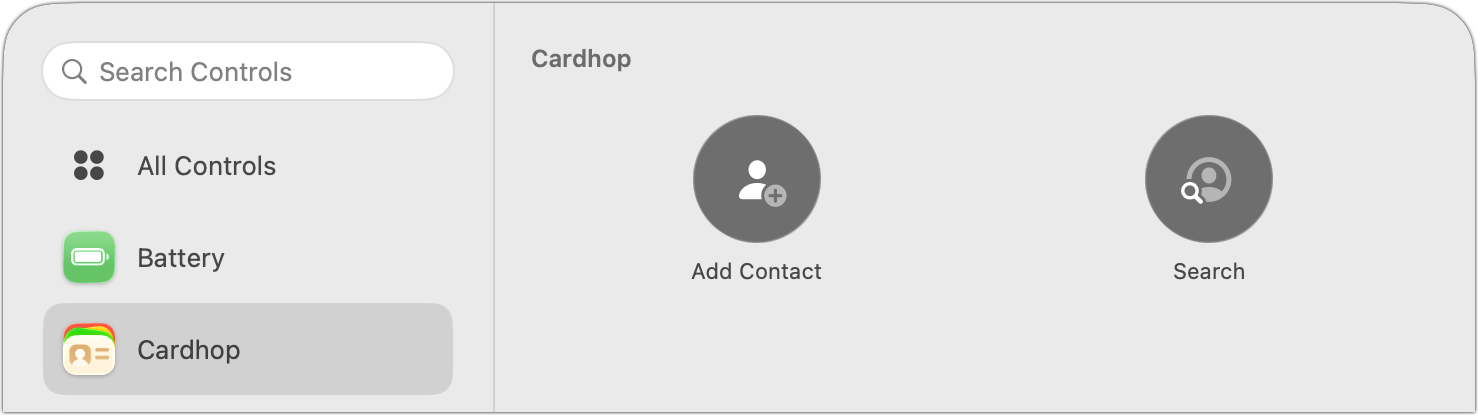
- Third-party controls: Independent developers can create their own. For instance, Flexibits’ Cardhop provides controls for adding and searching for contacts.
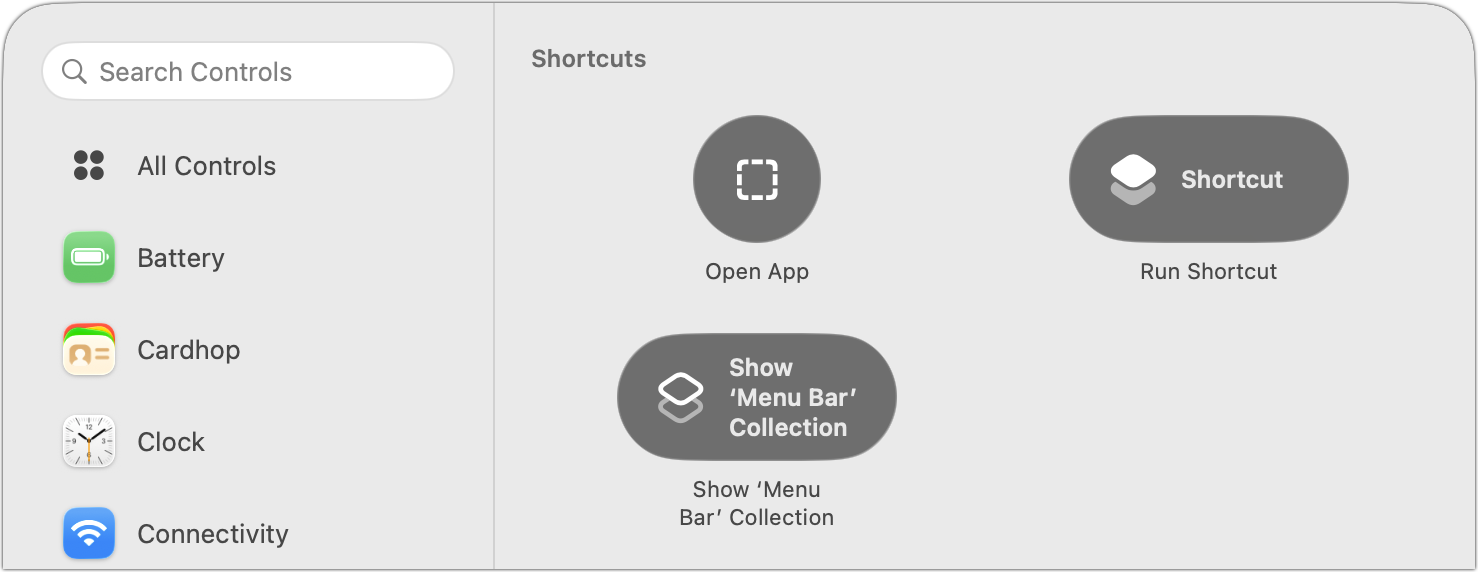
- Shortcuts: Apple’s automation app, Shortcuts, enables you to open any app from Control Center, run any shortcut, or show a collection of shortcuts. Anything you can create in Shortcuts can be triggered from Control Center. (Don’t be intimidated by Shortcuts; you can ask any AI chatbot to help you develop a shortcut.)
Don’t worry about messing up Control Center while you’re experimenting with different controls. You can always reset it in System Settings > Menu Bar by scrolling to the bottom and clicking Reset Control Center.
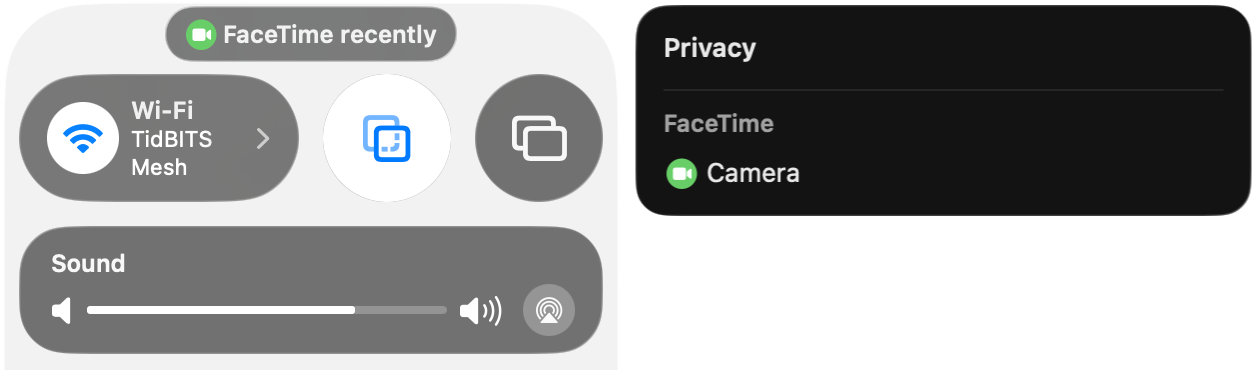
One final tip. A little control may appear at the top of Control Center at times. It’s a privacy notification that tells you whether an app has used your location recently (like Weather), used the camera (like FaceTime), recorded your screen (like Screenshot), or engaged in some other activity Apple thinks you might want to know about. Click it to learn a little more.
(Featured image based on an original by iStock.com/guteksk7)
Social Media: Stop wasting menu bar space. macOS 26 Tahoe’s revamped Control Center lets you add, remove, resize, and rearrange controls—including third-party ones—to fit your needs.